How to Prepare Your Car for Ceramic Coating: The Complete Prep Checklist
Why Preparation Is 90 Percent of the Job
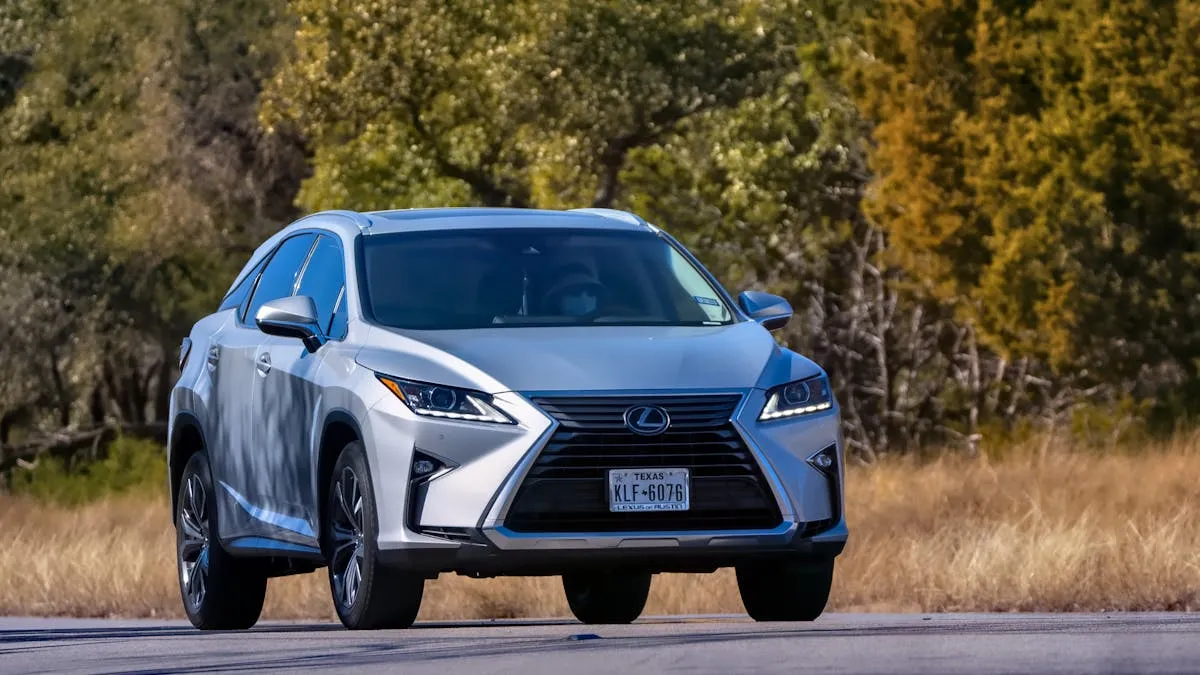
When clients bring their vehicles to EuroLuxe Detailing in Tomball for a ceramic coating application, they are often surprised to learn that the actual coating application takes a fraction of the total time their vehicle spends in our shop. The reality is that surface preparation, everything that happens before the first drop of coating touches the paint, accounts for the vast majority of both the time and the skill involved in a professional coating installation. A ceramic coating applied to a poorly prepared surface will bond to contaminants, seal in defects, and amplify every imperfection rather than creating the pristine, glass-like finish that clients expect. The preparation process is not optional or variable in quality. It is a defined sequence of steps that must be executed thoroughly and in order to create the foundation on which the coating will perform.
Step One: The Multi-Stage Wash
The preparation process begins with a wash, but not the kind of wash you can get at a drive-through or perform in your driveway. Our pre-coating wash is a multi-stage process that addresses different types of contamination in sequence. We start with a pre-rinse to remove loose debris, followed by a foam cannon application of a pH-neutral soap that dwells on the surface and loosens bonded contaminants. The hand wash uses a two-bucket method with grit guards to prevent any wash-induced scratching, working one panel at a time from top to bottom. We then perform a dedicated wheel and tire cleaning with specific wheel-safe chemicals that dissolve brake dust and road film from all wheel surfaces including barrels and lug nut recesses. The door jambs, fuel door, and trunk jamb are cleaned individually because these areas accumulate grime that can migrate onto freshly coated panels. This initial wash typically takes 60 to 90 minutes and removes approximately 90 percent of the surface contamination, setting the stage for the chemical and mechanical decontamination steps that follow.
Step Two: Chemical and Mechanical Decontamination
Even after a thorough wash, the paint surface retains bonded contaminants that soap and water cannot remove. These include iron particles from brake dust and rail dust, mineral deposits from hard water, tree sap residue, tar spots, and industrial fallout that are chemically bonded to the clear coat surface. We begin chemical decontamination with an iron remover that reacts visibly with ferrous particles, turning purple as it dissolves the iron contamination out of the clear coat. This is followed by a tar and adhesive remover that dissolves petroleum-based contaminants without affecting the paint. The mechanical phase involves a clay bar or clay mitt treatment that physically shears any remaining bonded contamination from the surface. Running your hand across a panel after clay treatment versus before is a dramatic demonstration of the difference. The surface goes from feeling gritty and rough, even if it looks clean, to feeling as smooth as glass. In the Houston area, the level of bonded contamination we encounter is consistently higher than national averages due to the industrial emissions, high mineral content in the water supply, and the sheer volume of brake dust that accumulates on vehicles driven in heavy traffic.
Step Three: Paint Correction
For most vehicles, paint correction is the next step and often the most time-consuming phase of the preparation process. Paint correction uses machine polishers with carefully selected compound and pad combinations to remove swirl marks, scratches, water spot etching, oxidation, and any other defects in the clear coat surface. The goal is to create a defect-free surface that the coating will lock onto and amplify, because ceramic coating enhances whatever is beneath it, whether that is a perfectly corrected finish or a swirl-damaged mess. The level of correction needed varies enormously from vehicle to vehicle. A new car with minimal wash damage may require only a single-stage polish, while a five-year-old daily driver with years of automatic car wash abuse may need an aggressive two-stage or three-stage correction involving multiple compound cuts and finishing passes. At our Tomball shop, we assess the correction requirement during the initial consultation and provide a detailed quote based on the actual condition of the paint rather than offering a one-size-fits-all correction package. Paint correction on a typical sedan takes four to eight hours, while larger vehicles and more severely damaged paint can extend to twelve hours or more.
Step Four: The IPA Wipe and Final Inspection
After correction is complete, we perform what is arguably the most critical quality-control step in the entire process: the isopropyl alcohol (IPA) wipe. Machine polishing leaves behind residual oils and fillers from the polishing compounds, and these residues can mask remaining defects and interfere with coating adhesion. The IPA wipe strips away these residues and reveals the true condition of the paint surface without any chemical enhancement. Under our LED inspection lights, the IPA-wiped surface shows every remaining scratch, swirl, and imperfection with complete honesty. If we discover defects that were hidden by polishing oils, we go back and address them before proceeding. This step is non-negotiable in our process because applying coating over concealed defects means those defects will become visible once the polishing oils evaporate beneath the cured coating, creating a result that looks worse than the client’s expectation. The IPA wipe also ensures maximum coating adhesion by presenting a chemically clean surface that the SiO2 molecules in the coating can bond directly to the clear coat without any barrier.
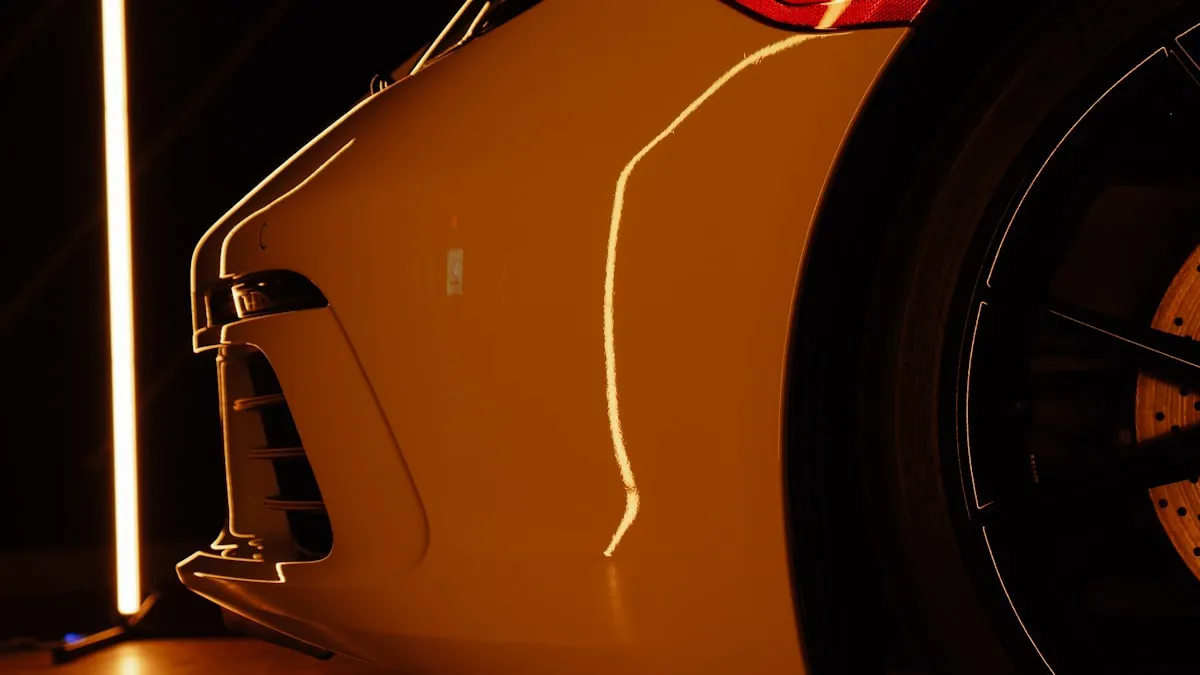
Step Five: Panel-by-Panel Coating Application
Only after every preceding step has been completed to our satisfaction do we begin applying the ceramic coating itself. At EuroLuxe Detailing, we use GYEON MOHS EVO as our primary ceramic coating, and its application follows a strict panel-by-panel process that ensures complete, even coverage with no missed areas or high spots. The coating is applied using a specialized applicator in a crosshatch pattern, ensuring that the product contacts every square inch of the panel surface. After a specific flash time that varies based on temperature and humidity, the coating is leveled with a clean microfiber towel to remove excess product and create a uniform film thickness. Each panel is then inspected under direct lighting for any streaks, high spots, or missed areas before moving to the next panel. The controlled environment of our shop is critical during this phase, as temperature and humidity directly affect the coating’s flash time and curing behavior. Houston’s variable humidity can change flash times significantly between morning and afternoon, and our experience allows us to adjust application technique in real-time to account for these environmental factors.
What Vehicle Owners Should Know Before Their Appointment
If you are bringing your vehicle to our shop for ceramic coating, there are a few things you can do to help the process go smoothly. First, do not have the vehicle washed, waxed, or treated with any quick detailer products before the appointment, as these products will need to be completely removed during our decontamination process and add unnecessary time. Second, remove all personal belongings from the vehicle interior and trunk, as we will be opening doors and accessing all panel surfaces during the coating process. Third, plan for your vehicle to be with us for multiple days. A proper preparation and coating installation is not a same-day service. Our typical turnaround for a single-layer coating with correction is two to three days, and multi-layer coating packages can extend to four or five days depending on the vehicle’s size and condition. Finally, be prepared to follow specific aftercare instructions during the coating’s initial cure period, which typically means no washing for seven days and no chemical exposure for 14 days after application.
Start with Professional Preparation
The difference between a ceramic coating that performs beautifully for years and one that fails prematurely almost always comes down to the quality of the preparation work. At EuroLuxe Detailing in Tomball, we invest the time, skill, and attention to detail that every step of the preparation process demands because cutting corners in prep undermines everything the coating is designed to do. When you choose our shop, you are choosing a team that treats preparation as the most important part of the coating process, not an afterthought. Contact us for a quote and let us walk you through exactly what our preparation process involves for your specific vehicle.