How to Wash Your Car Without Scratching the Paint
Why Washing Technique Matters
The number one cause of swirl marks and scratches on vehicle paint is improper washing. Every time you drag a dirty sponge, chamois, or cheap towel across your paint, you’re grinding trapped grit particles into the clear coat.
The good news: proper washing technique is simple. Once you adopt these habits, you’ll preserve your paint’s finish for years — whether it’s unprotected, waxed, or ceramic coated.
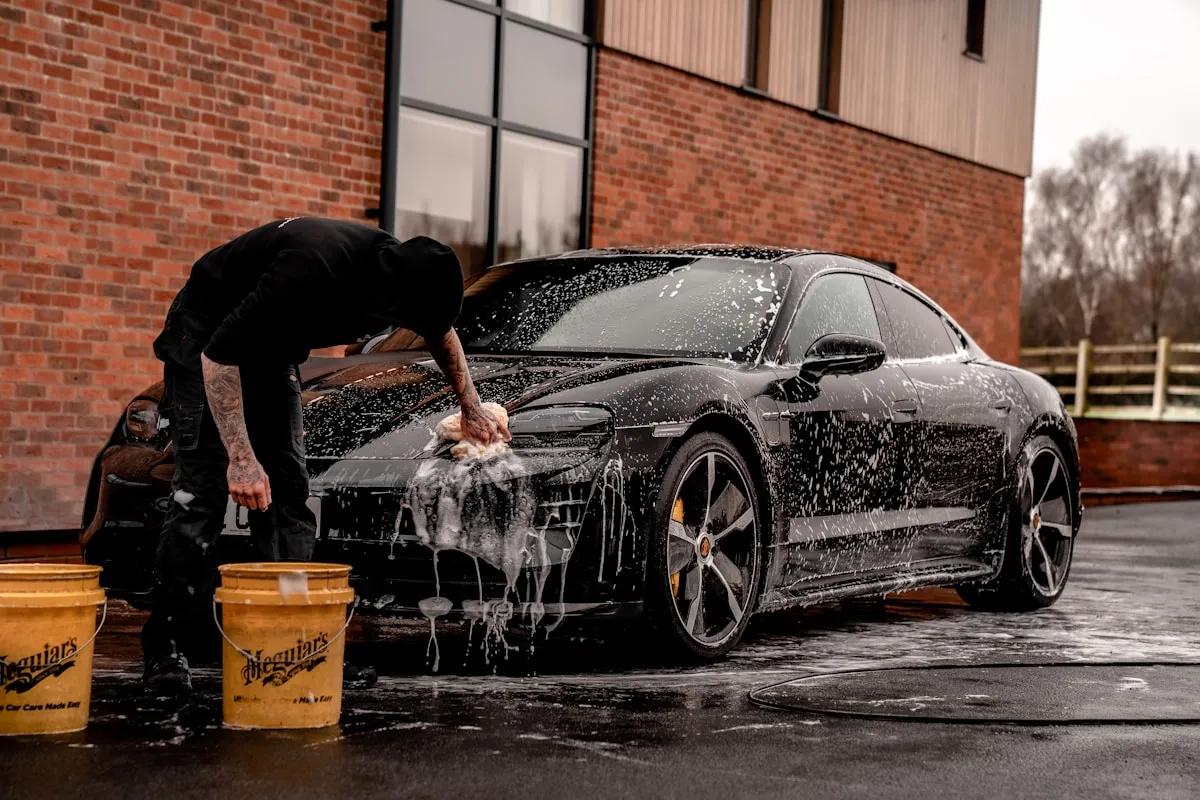
The Two-Bucket Method
Equipment You Need
- Two 5-gallon buckets
- Two grit guards (plastic inserts for the bottom of each bucket)
- Premium microfiber wash mitt (not a sponge)
- pH-neutral car wash soap (not dish soap)
- High-quality microfiber drying towels
- Pressure washer or garden hose with nozzle
Step 1: Pre-Rinse
Before anything touches your paint, rinse the entire vehicle with a pressure washer or strong hose spray. Work top to bottom. This removes 80% of loose dirt, sand, and debris. The less grit on the surface when you start contact washing, the fewer scratches you’ll create.
Step 2: Foam (Optional but Recommended)
A foam cannon attached to a pressure washer applies thick soap foam that clings to the surface and loosens remaining contamination. Let the foam dwell for 2-3 minutes, then rinse. This is an extra pre-wash step that further reduces surface contamination.
Step 3: Contact Wash
- Bucket 1 (Wash): Fill with clean water and car wash soap per the product’s directions
- Bucket 2 (Rinse): Fill with clean water only, grit guard on the bottom
Dip your wash mitt in the soap bucket. Wash one panel at a time using straight-line motions (front to back, not circles). Use light pressure — let the soap do the work, not your arm.
After each panel, rinse the mitt in the clean rinse bucket. Rub the mitt against the grit guard to release trapped dirt. Then re-dip in the soap bucket and move to the next panel.
Step 4: Work Top to Bottom
Start with the roof, then windows, then upper body panels, then lower body panels. The lower portions of the vehicle carry the most dirt — washing them last prevents carrying that heavy contamination to cleaner upper panels.
Step 5: Wheels Last
Wheels and tires are the dirtiest part of the vehicle. Use a separate brush and separate bucket for wheels. Never use your paint wash mitt on wheels — brake dust and road grime will contaminate the mitt permanently.
Step 6: Final Rinse
Rinse the entire vehicle thoroughly, starting from the top. Remove all soap residue. If you have access to a filtered water rinse (deionized water), use it for the final pass to prevent water spots.
Step 7: Dry Properly
- Best: Use a filtered air blower to push water off the surface without contact
- Good: Use a clean, high-quality microfiber drying towel. Lay it flat on the surface and gently pat/drag — don’t scrub
- Never: Use a chamois, squeegee, or paper towels on paint
Products to Avoid
- Dish soap — Strips wax, sealants, and ceramic coatings. Too alkaline for automotive use.
- All-purpose cleaners — Too aggressive for regular paint washing
- Household sponges — Trap grit on the surface and grind it into paint
- Old towels or T-shirts — Not designed for paint contact, will introduce scratches
- Automatic car washes — Spinning brushes loaded with grit from previous vehicles
How Often to Wash
- Ceramic coated vehicles: Every 1-2 weeks. Many washes can be rinse-only with a pressure washer.
- Waxed vehicles: Every 1-2 weeks. The wax provides some self-cleaning, but contamination still needs regular removal.
- Unprotected vehicles: Weekly during heavy pollen, bug, or dust seasons. Bi-weekly otherwise.
The Payoff
Proper washing technique takes 30-45 minutes — roughly the same time as a poor wash. The difference is entirely in method, not effort. Vehicles washed correctly maintain their paint finish for years longer than vehicles subjected to improper washing.
If your paint already has swirl marks from previous washing, paint correction removes the damage and restores the finish. Follow correction with ceramic coating and proper wash technique to keep it looking that way permanently.


