Swirl marks on car paint: causes, removal, and prevention
Swirl marks are one of the most common paint problems on vehicles in North Houston, and they are almost always self-inflicted. They are not random. They follow a consistent pattern of repeated contact with contaminated or abrasive surfaces, and once they accumulate in a clear coat, they scatter light in a way that turns what should be a deep, uniform finish into something that looks dull and scratched under any direct light source. Dark colors—black, navy, dark gray—show them most aggressively, but no color is immune.
Most owners notice swirl marks first in direct sunlight or under overhead parking garage lights. The finish looks fine in shade, then looks like a spider web or circular haze the moment the angle changes. That contrast between how a car looks in different light is a reliable indicator of how significant the marring has become. A car that only looks clean in dim light has a compromised clear coat, even if it has never been in a collision and has never been touched by a body shop.
Understanding what causes them, how professional correction removes them, and what changes in routine will prevent them from returning is worth the time for any owner who cares about how their vehicle looks long-term.
Where swirl marks actually come from
The most common source is an automatic tunnel wash. The rotating brushes and curtains used in those facilities are shared by hundreds of vehicles per day and are rarely clean. They drag embedded grit and debris across your clear coat in circular or arc-shaped paths, which is exactly the pattern swirl marks follow. A single pass through a tunnel wash can introduce more marring than months of careful hand washing.
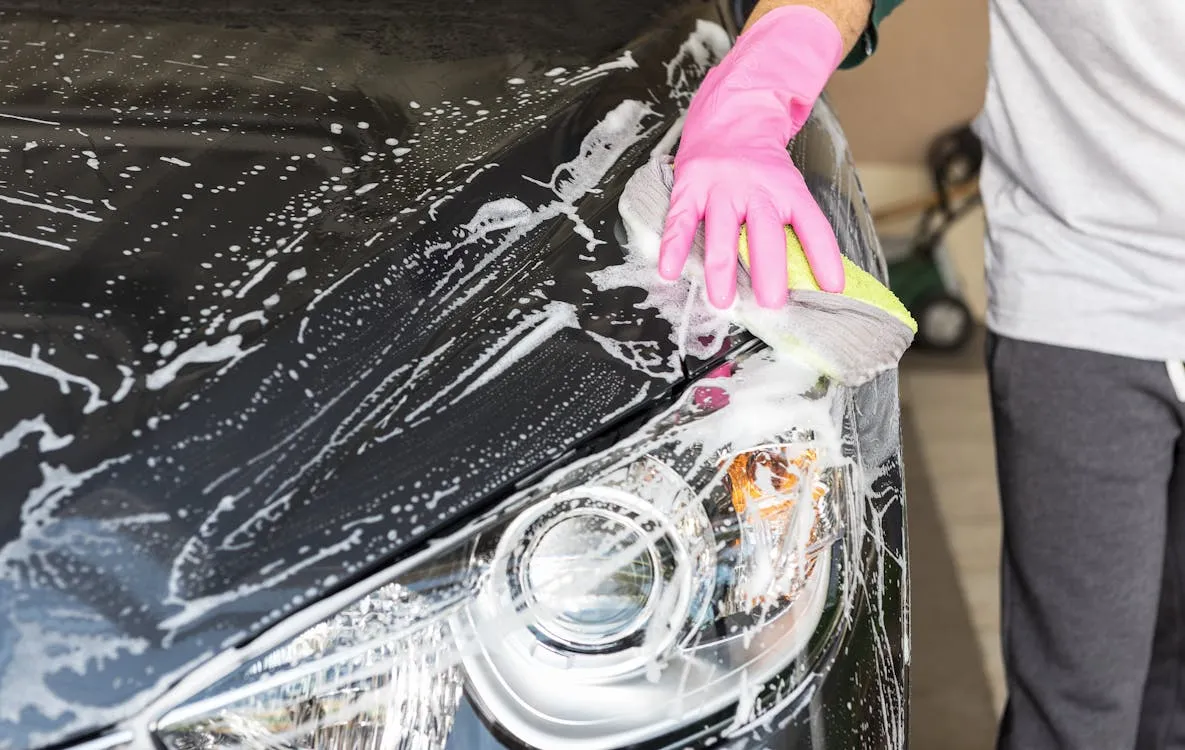
Hand washing with the wrong materials is the second major source. A household sponge, a low-quality chamois, or a wash mitt that has been left on a garage floor all carry particles that scratch. The two-bucket wash method—one bucket for clean soap solution, one for rinsing the mitt before reloading—exists specifically to reduce this risk, but it only works if the contact surfaces themselves are clean and appropriate for automotive paint.
Drying is another overlooked source. Dragging a rough towel across a panel to remove water creates fine marring across the entire surface. Microfiber drying towels used with light pressure, or blower-assisted drying, reduce that risk substantially. Even a clean towel used too aggressively against slightly dusty paint will leave marks.
Quick detailer sprays and interior wipe-downs done with the wrong cloths contribute as well. Any time something dry or grit-contaminated contacts the paint under friction, the clear coat takes damage. The cumulative effect of small repeated contact events is what most owners are actually seeing when they look at a heavily swirled finish.
What professional paint correction actually does
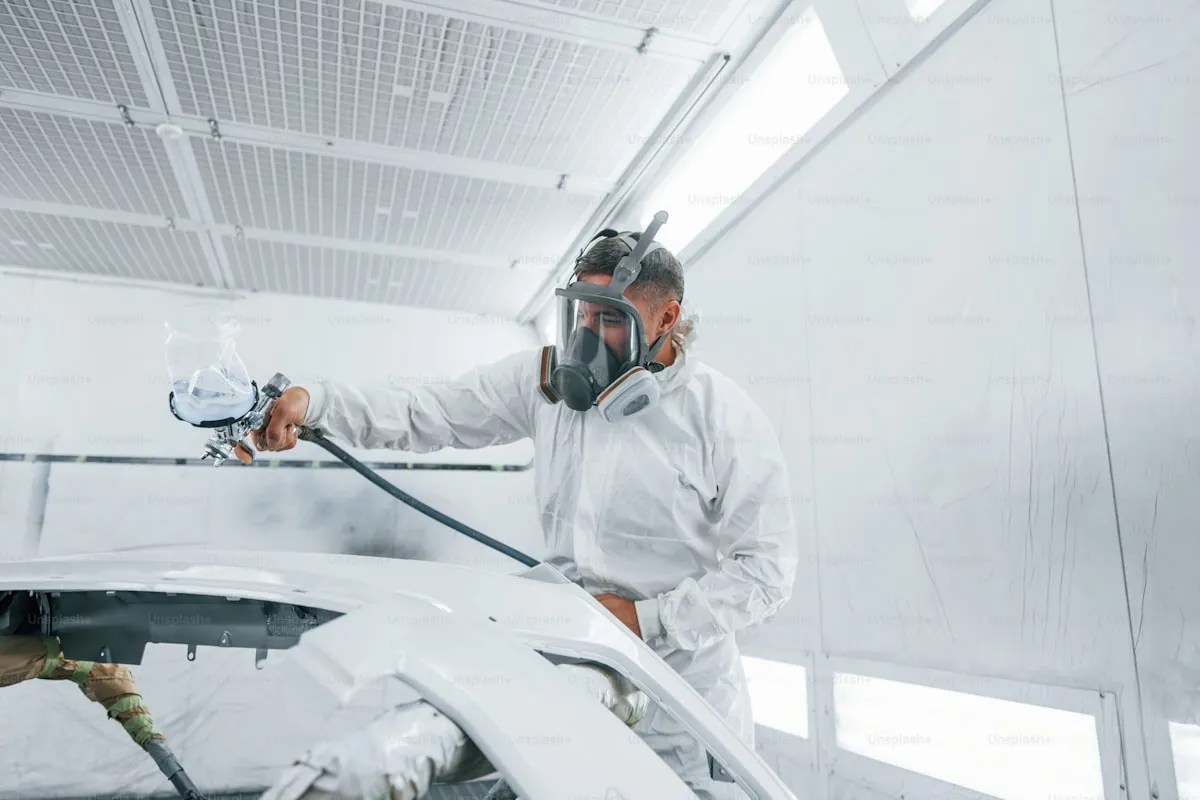
Paint correction is the controlled removal of a thin layer of clear coat to eliminate the scratches that scatter light. The process uses machine polishers—either rotary or dual-action—with cutting compounds and polishing compounds matched to the severity of the defects and the hardness of the specific clear coat. It is not a surface treatment. It physically reshapes the clear coat surface so light reflects uniformly again.
Before any machine work begins, the paint is decontaminated. That means a thorough wash, a chemical decontamination step to dissolve embedded iron particles and other bonded contamination, and often a clay bar treatment to remove anything remaining above the surface. Skipping decontamination and polishing over contaminated paint causes new scratches during the correction process itself.
A paint thickness gauge is used to measure the clear coat on each panel before work begins. This matters because clear coat is finite. A typical factory application is 100 to 150 microns. Each correction removes a small amount—usually 2 to 10 microns depending on severity and technique—so knowing the starting thickness determines how aggressive the approach can responsibly be. A panel that has already been corrected or resprayed may have less material available to work with.
You can read more about the full paint correction process and what the different stages of correction address.
Single-stage versus multi-stage correction
Not every paint correction job is the same. Light swirl marks and minor wash marring on a clear coat in otherwise good condition can often be addressed in a single polishing stage using a medium-cut compound followed by a finishing polish. The result is a clean, refined surface without removing more material than necessary.
More severe cases—heavy swirling, random deep scratches, oxidation, or paint that has been improperly compounded before—require a multi-stage approach. That typically means starting with a heavier cut to level the surface, then following with progressively finer polishes to refine the finish and eliminate any haze left by the cutting stage. Stopping after a heavy compound without refining leaves a finish that looks cloudy under certain lights, which is a common sign of incomplete work.
The goal of any correction stage is a finish that looks consistent under all lighting conditions, not just in shade. A proper inspection under a detailing light or in direct sunlight after the work is done will confirm whether the surface is truly clean or whether marring remains.
Protecting the corrected surface
A freshly corrected paint surface is as clean as the clear coat will ever be. It is also unprotected. The question after any correction is what goes on top to preserve that work and slow the return of contamination and swirl marks.
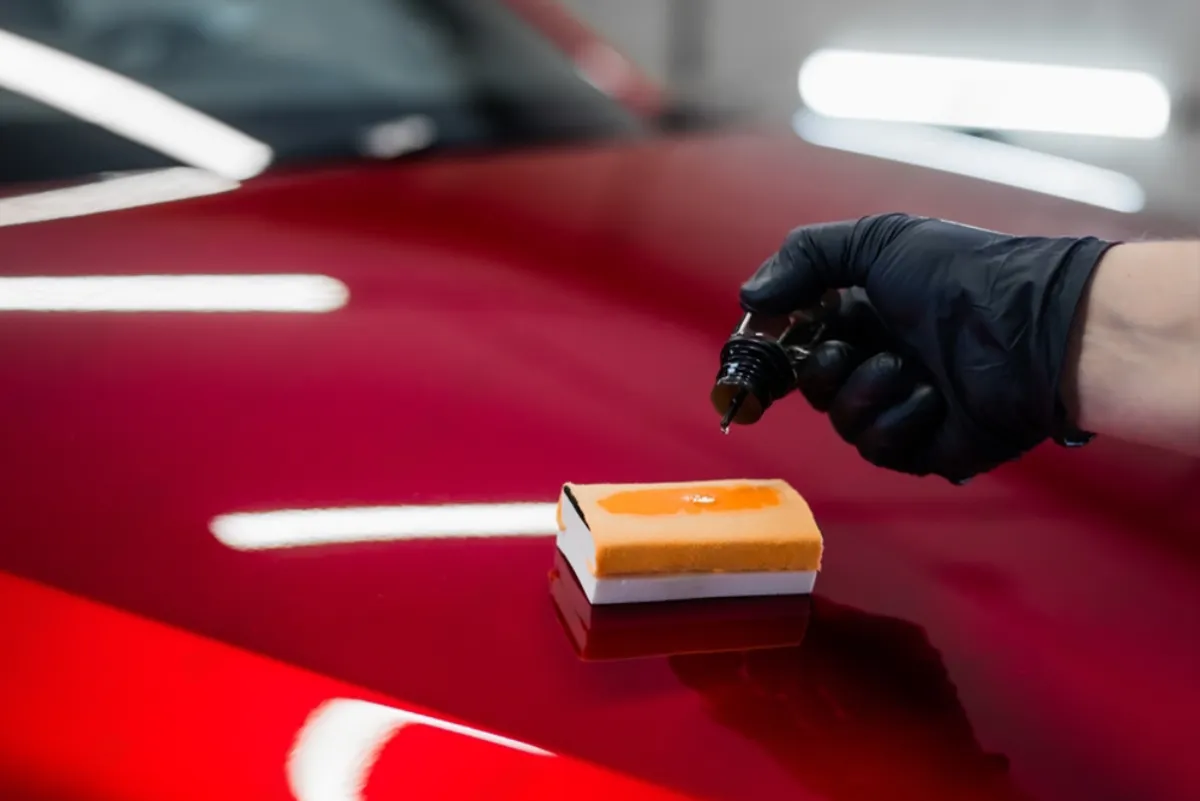
A professional-grade ceramic coating applied over a corrected surface locks in the finish and adds a hard, chemically resistant layer that reduces the risk of swirl marks from routine washing. The coating does not make the paint scratch-proof, but it creates a surface that releases contamination more easily, requires less aggressive contact during washing, and maintains its gloss between services with proper maintenance. Gyeon ceramic coatings applied at the studio perform well in the North Houston climate, where UV intensity, humidity, and road contamination are persistent factors.
For vehicles that see highway driving or gravel exposure regularly, combining paint correction with paint protection film on the highest-impact zones gives the corrected finish a physical barrier against chips and abrasion that a ceramic coating alone cannot provide. The two work together rather than competing.
Maintaining the finish after correction
The work done during a correction appointment holds its value only if the washing routine changes. Tunnel washes should be avoided entirely on a corrected and coated surface—the whole point of the correction is undone with repeated brush contact. Touchless automatic washes are a lesser risk but still expose the paint to high-pressure water carrying loose grit.
Hand washing with clean microfiber mitts, pH-neutral soap, and the two-bucket method is the standard recommendation for maintaining a corrected finish at home. Rinse the panel before contact to float loose debris off the surface. Reload the mitt from the clean bucket only after rinsing it in the rinse bucket. Dry with a clean microfiber towel or blower rather than dragging across the surface.
The North Houston environment adds specific challenges. Pollen accumulation in spring, road dust from construction corridors along 249 and the Grand Parkway, and the clay-heavy particulate common during dry stretches all mean the paint picks up contamination faster than it would in a cleaner environment. More frequent rinsing—even without a full wash—reduces the amount of abrasive material sitting on the surface between washes.
If you are evaluating the current condition of your vehicle’s paint and want a straight assessment of what correction would address, call the studio at (936) 292-6056 to schedule an inspection before committing to a service level.
Swirl marks are a maintenance problem as much as they are a cosmetic one. Correcting them is straightforward. Keeping them off a corrected surface requires changing the habits that put them there in the first place, and most of those changes are not difficult once the reasoning behind them is clear.