Paint correction on tan, beige, and champagne vehicles
Tan, beige, and champagne paint colors occupy an odd position in the detailing world. Owners often assume their cars look fine because the light neutral tone masks surface defects under flat garage lighting or overcast skies. Then the vehicle sits in direct Texas sun, and the full story surfaces — a web of swirl marks, fine scratches, and oxidation that was always there, just hiding. That gap between how the paint looks most of the time and how it looks when light rakes across the panels at a low angle is exactly what paint correction is designed to close.
The challenge with these colors is not that they scratch more easily than darker paints. The challenge is that owners tend to skip correction longer than they should, because the need is not obvious until it is severe. By the time champagne or tan paint looks bad in a parking lot on a sunny afternoon, the correction required to restore it is typically more involved than it would have been a year earlier. Understanding what the process looks like on these finishes — and why it differs from working on black or dark blue paint — helps owners make better decisions about timing.
Why neutral light colors behave differently under polishing lights
When an installer works on a black or dark navy vehicle, swirl marks show up under any lamp at almost any angle. Staging the work is straightforward because defects are always visible. On a champagne or tan car, the inspector needs to work harder. Swirls and haze become visible primarily under a focused halogen or LED inspection lamp held at specific angles to the panel. The same defects that disappear under ambient shop lighting become a dense pattern of fine scratches when the lamp is raked across the surface at twenty or thirty degrees.
This does not mean the defects are less real or less damaging to the finish. It means the correction process requires more careful inspection at the beginning and more thorough verification at the end. After each polishing stage, the installer needs to confirm results under the same high-angle lighting that revealed the defects in the first place, not just check the panel under overhead fluorescents and move on.
What the correction stages look like on these finishes
Most tan and beige factory paints fall into the medium-soft clear coat category, though there is real variation depending on manufacturer and model year. German and Korean vehicles tend to run softer clears that respond quickly to a dual-action polisher with a medium-cut compound. Some domestic trucks and SUVs with champagne or tan metallic paint have harder clears that require more aggressive cutting before finishing.
A single-stage correction — one round of compounding followed by a finishing polish — is often sufficient for a vehicle that has been washed carefully and garaged most of its life. For daily drivers with two or more years of automated car wash swirls layered on top of contact wash swirls, a two-stage approach is more appropriate. The first stage removes the bulk of the marring and any oxidation in the upper clear coat. The second stage refines the finish, eliminates any haze left by the compound, and brings the gloss depth up to where it should be. If you want to understand how these stages differ in practice, the paint correction service page walks through what each level of work addresses.
For vehicles with isolated deeper scratches — common on the hood leading edge, door handles, and front bumper on cars that have been daily driven for several years — a targeted wet sanding pass on specific panels may precede the machine polishing stages. This is not standard on every neutral-colored car, but it comes up often enough on champagne finishes where the owner has never had any professional paint work done.
The role of paint thickness measurements on light paint
Before any cutting or polishing begins on a vehicle, a paint thickness gauge is run across every panel. This matters on all colors, but it carries a specific relevance for light neutrals that may have been repainted on one or more panels. Champagne and tan are common colors on mid-range luxury sedans and SUVs that come through the used market, and some of these vehicles have had body work done that is not disclosed in the history report. A thickness gauge reading significantly higher than factory spec on a quarter panel or door tells the installer that there is body filler or additional paint layers underneath, which changes how aggressively the panel can be cut.
Over-polishing a panel with thin remaining clear coat — whether from previous correction work, prior bodywork, or simple age — can compromise the clear coat’s ability to protect the base coat. On champagne and tan metallics, the flake layer in the base coat tends to be fine-grained, and damage to the clear coat that allows UV to reach the base coat will show up as a dull, faded patch against the surrounding paint. Getting thickness readings right before the work starts protects the paint and sets realistic expectations about what correction can achieve on each individual panel.
Contamination and prep on these vehicles before polishing begins
One detail that catches some owners off guard is how contaminated the surface often is before any polishing starts, even on cars that look relatively clean. Iron fallout from brake dust bonds to paint regardless of color, but on tan and beige vehicles it shows up as tiny orange or rust-colored dots that become visible during the decontamination stage when a chemical iron remover is applied. Road tar deposits and industrial fallout embedded in the clear coat also need to be addressed before any abrasive is used. Running a compound pad over bonded contamination works the particles against the clear coat surface and can introduce the exact kind of scratching the correction is meant to remove.
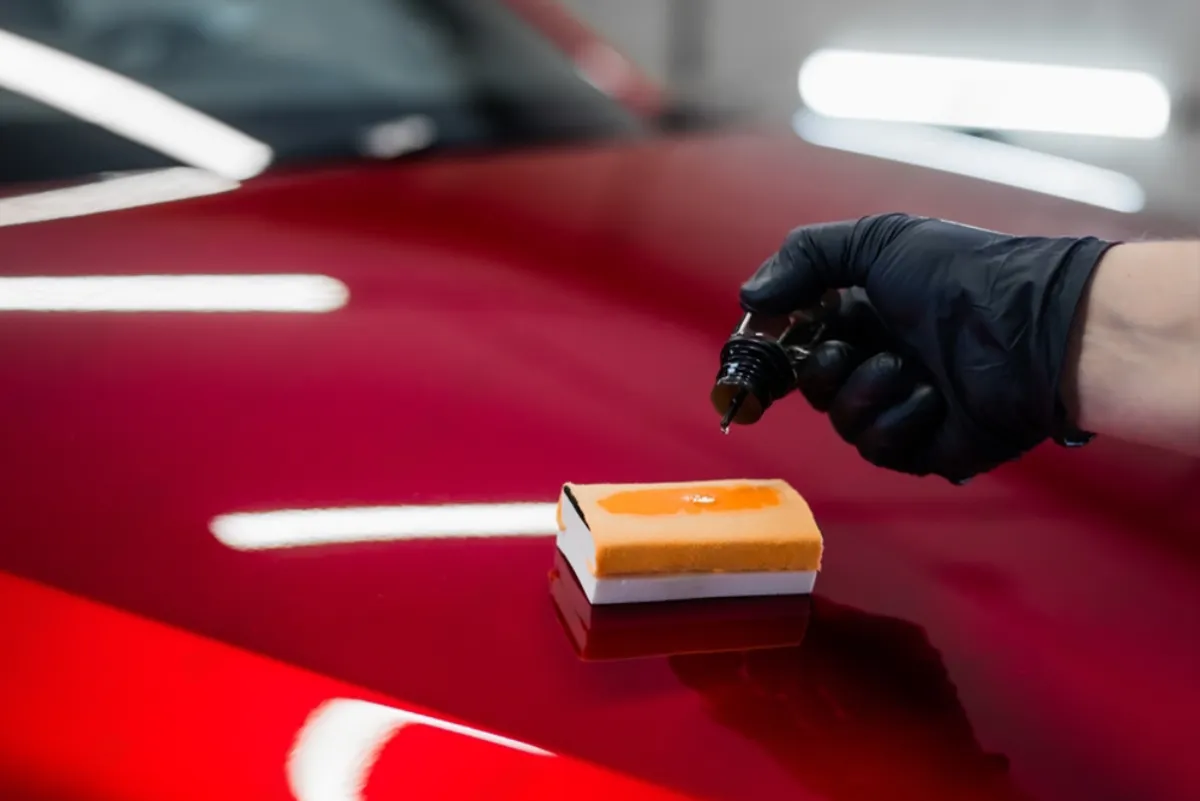
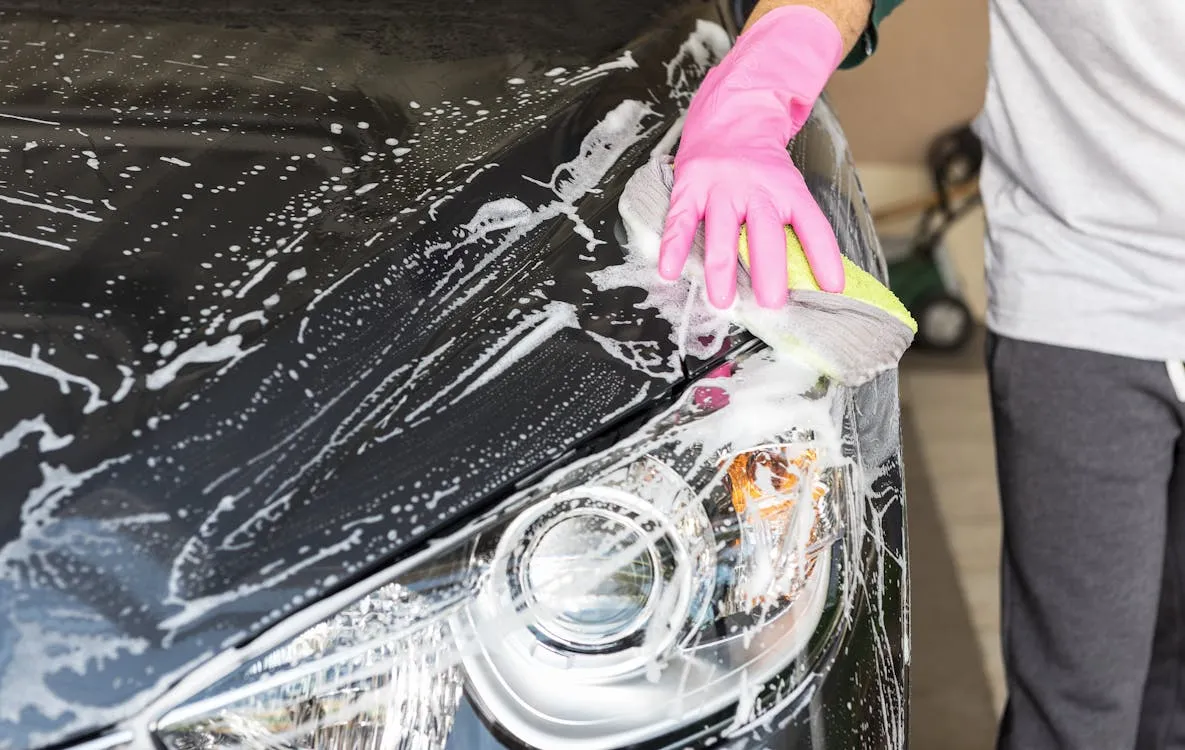
The prep sequence — wash, iron decontamination, clay or clay alternative, panel wipe — is not a sales add-on. It is what allows the correction stages to work on the actual clear coat surface rather than on the layer of contamination sitting on top of it. If you want to protect that corrected surface afterward, applying a ceramic coating over properly decontaminated and corrected paint gives it a durable base that makes the finish substantially easier to maintain without adding new swirls over time.
What to expect after the correction is complete
The change on a well-corrected champagne or tan vehicle is real but different from what people expect when they see before and after photos of black cars. Because the defects were not obvious in flat light to begin with, the difference under ordinary lighting conditions may look subtle at first. The paint looks cleaner, slightly deeper in tone, and the metallic flake appears more uniform. The real difference becomes apparent in direct afternoon sun, which is where these colors were failing in the first place. The surface becomes a continuous reflection rather than a surface cross-hatched with fine lines.
Maintaining that result requires some discipline. The same contact washes and automated tunnels that created the original swirl marks will recreate them if nothing changes. Switching to a proper two-bucket hand wash or a touchless wash for routine cleaning is the most direct way to extend the life of a corrected finish. Applying a protective layer — whether a sealant, a wax, or a professional-grade ceramic coating — gives the corrected surface something to absorb minor contact before it reaches the clear coat.
If you have a tan, beige, or champagne vehicle in the North Houston area and want a straight assessment of what the paint needs, call EuroLuxe Detailing at (936) 292-6056 to schedule an in-person evaluation at the studio in Tomball.
Paint correction on neutral light-colored vehicles is not a dramatic transformation visible from across a parking lot — it is a precision process that restores what the paint was always supposed to look like, done right it shows most clearly exactly where the problem was most visible: under direct sun, where these finishes either reflect cleanly or reveal every year of neglect.