Choosing and caring for a wash mitt: the tool that touches your paint
Owners spend a lot of energy choosing soap and almost none choosing the wash mitt. That is backwards. The soap helps, but the mitt is the single tool that physically touches the paint on every panel of every wash. If the mitt holds grit against the surface, or if it is too thin to keep dirt away from the clear coat, it scratches the paint regardless of how good the soap is. More wash-induced swirl marks come from the wrong mitt, used the wrong way, than from any other single cause.
The reason is straightforward. A wash mitt does not actually clean by scrubbing. Its job is to lubricate the surface and pull dirt off the paint and up into the pile of the mitt, away from contact with the clear coat, so that grit can be rinsed out before the next pass. A good mitt has deep, soft fibers that swallow particles and hold them away from the panel. A bad mitt, a thin sponge or a worn-out cloth, drags those particles along the surface instead. In a climate like North Houston, where vehicles accumulate gritty road film, pollen, and brake dust between washes, that difference shows up fast in the finish.
Why a sponge is the wrong tool
The old yellow sponge is still the default in a lot of garages, and it is one of the worst things you can put on automotive paint. A sponge has a flat, dense surface with no real depth to it. When it picks up a piece of grit, that grit has nowhere to go. It stays on the face of the sponge and gets dragged across the next stretch of paint, and the one after that, leaving a trail of fine scratches the whole way. The flat surface also presses contamination directly into the clear coat instead of lifting it away.
A proper wash mitt works on the opposite principle. The deep pile, whether it is microfiber chenille or natural wool, creates space for dirt to travel up and off the surface. Particles get trapped in the fibers rather than sitting on a flat face, and a good rinse between panels flushes most of them out. That single design difference, depth versus flatness, is most of the reason a mitt is safe and a sponge is not.
This is also why the brushes and cloth strips at automatic tunnel washes do so much damage. Those materials are stiff, they are dirty from the car ahead of you, and they press contamination into the paint under pressure. The principle is the same as the sponge, scaled up. If you care about the finish, the wash media needs depth, softness, and the ability to release the dirt it picks up. A sponge and a tunnel brush fail all three tests.
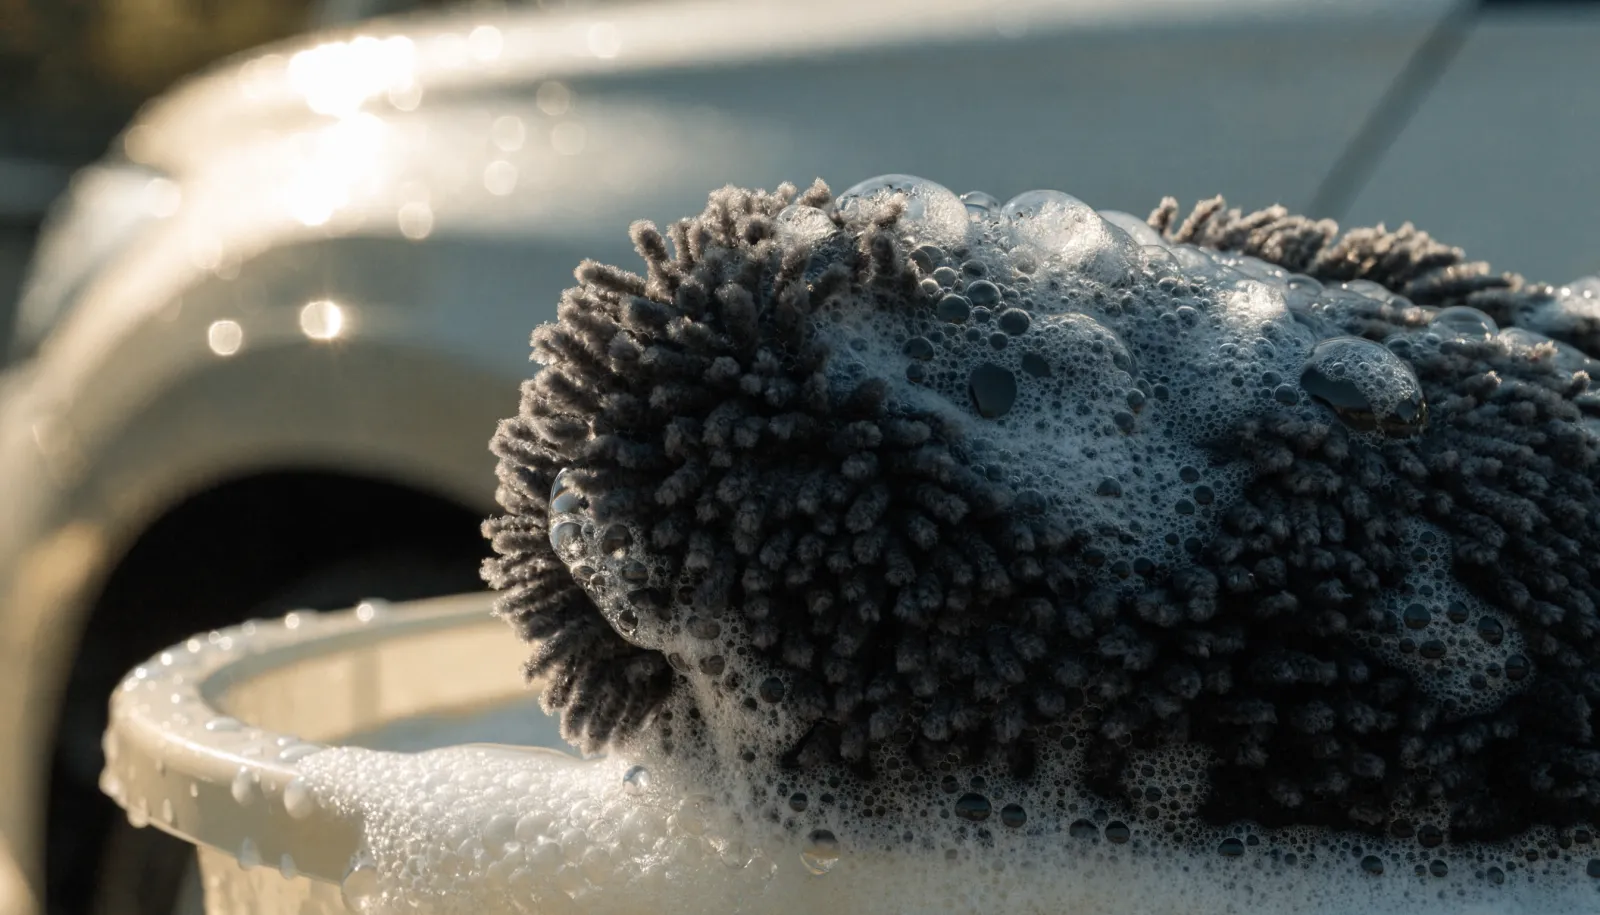
Microfiber chenille versus natural wool
Among proper mitts, the two main options are microfiber chenille and natural wool, and both are good choices when they are good examples of the type. Microfiber chenille mitts use long, twisted synthetic fibers that hold a lot of soap and lift dirt well. They are widely available, affordable, easy to clean, and they dry quickly, which matters for keeping them sanitary in a humid climate. For most owners, a quality microfiber chenille mitt is the practical default and performs excellently.
Natural wool mitts, made from genuine sheepskin or wool pile, are the traditional premium option. Real wool holds an enormous amount of soapy water, has naturally soft and deep fibers, and is exceptionally gentle on paint. The trade-offs are cost, longer drying time, and more careful maintenance to keep the wool soft and clean. Many serious detailers prefer wool for the way it carries lubrication, but a good microfiber mitt is not meaningfully more dangerous to the paint. The gap between a great wool mitt and a great microfiber mitt is small compared to the gap between either of them and a sponge.
Whichever material you choose, buy a quality example and consider buying more than one. Using a separate mitt for the lower sections of the vehicle, the rocker panels and lower bumpers where the worst grit lives, keeps the heavy contamination from those areas off the mitt you use on the upper panels. That two-mitt approach pairs naturally with a proper two-bucket hand wash and is one of the cheapest upgrades you can make to a safer wash.
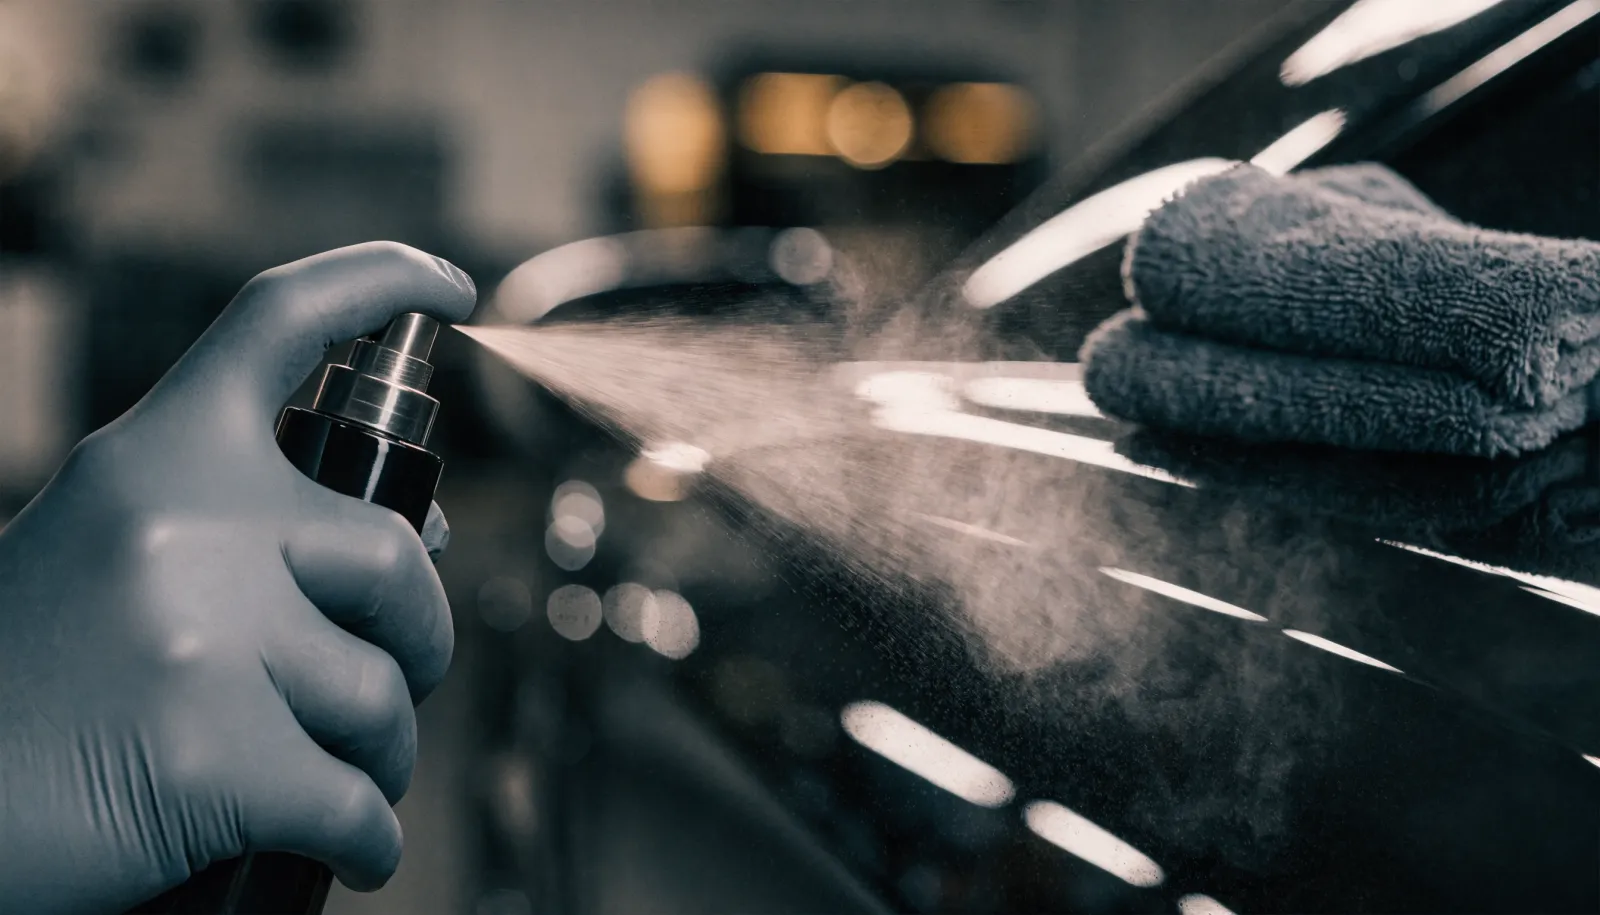
How a mitt fits into a scratch-free wash
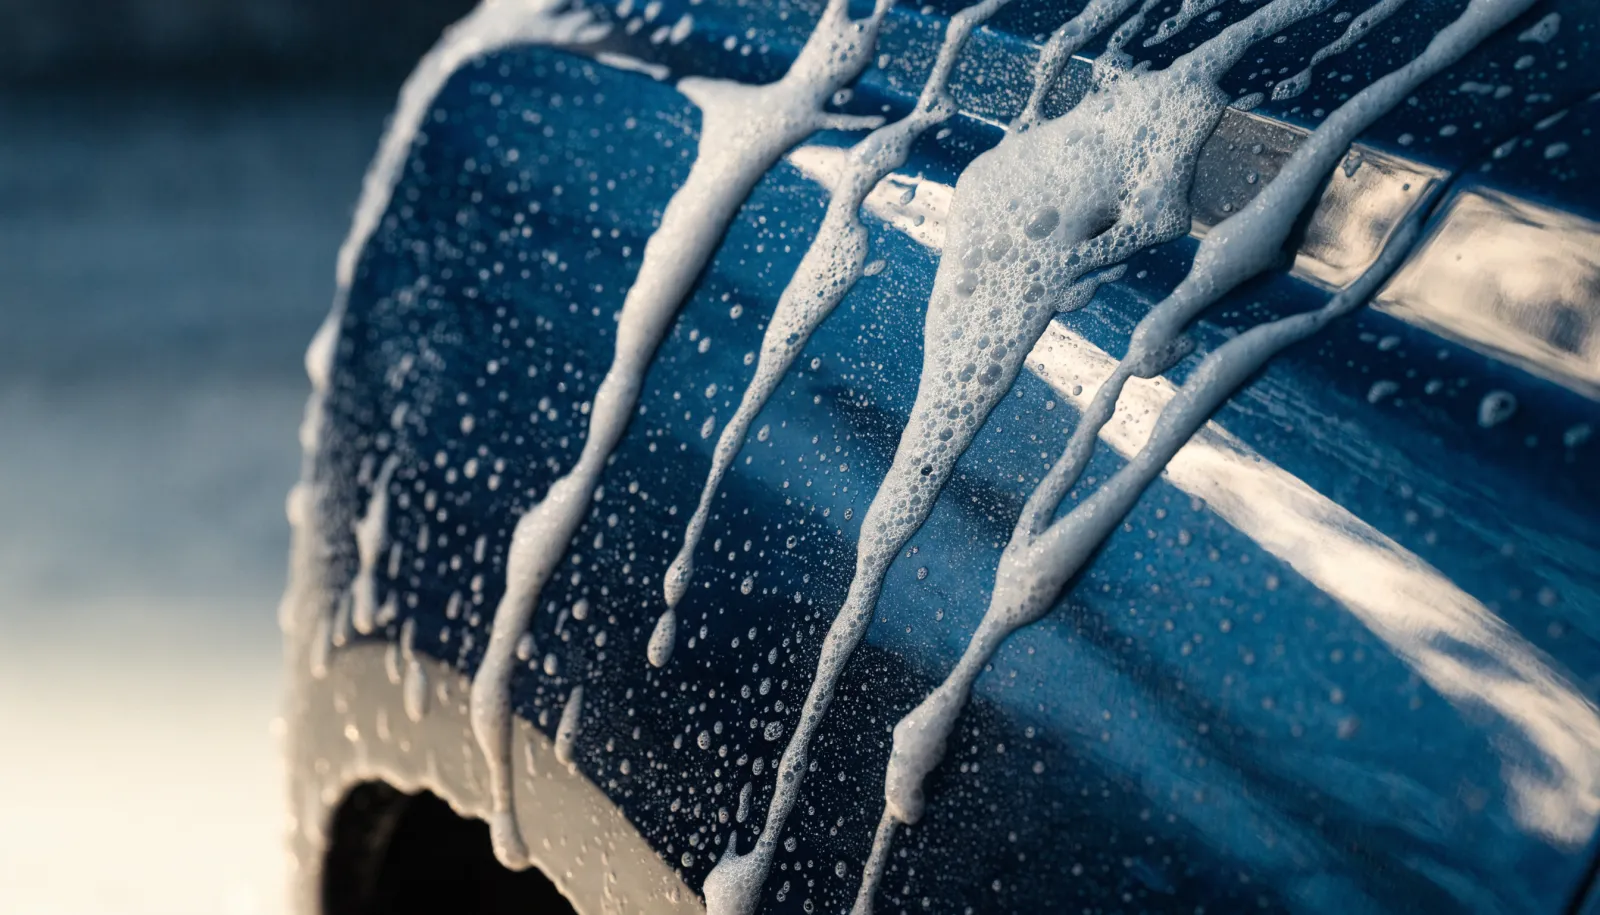
The mitt is one piece of a system, and the system matters as much as the tool. Start with a pre-rinse and ideally a foam pre-wash to remove as much loose grit as possible before the mitt ever touches the paint. The less dirt on the surface when you make contact, the less work the mitt has to do and the lower the scratch risk. Then wash top to bottom, because the upper panels are the cleanest and the lower panels are the dirtiest. Washing the dirty rockers first and then bringing that grit up to the roof is a common, avoidable mistake.
Use light pressure. The mitt and the soap do the work; pressing hard does not clean better, it just forces any trapped grit harder into the clear coat. Let the lubrication and the deep pile carry the dirt away. After each panel or two, dunk the mitt in the rinse bucket, agitate it against a grit guard at the bottom to release the dirt, and only then reload it from the soap bucket. That rinse step is what keeps the mitt clean enough to be safe on the next panel, and skipping it is how even a good mitt ends up dragging grit.
If you drop the mitt on the ground, it is done for that wash. The ground is covered in coarse grit that embeds in the fibers, and no amount of rinsing fully clears it. Set it aside, grab a clean one, and wash the dropped mitt thoroughly before it goes anywhere near paint again. A two-dollar habit of keeping a spare mitt on hand prevents a scratch that would cost far more to correct.
Caring for the mitt so it stays safe
A wash mitt is only as safe as it is clean, and most owners ruin their mitts in the laundry. After each wash, rinse the mitt thoroughly under running water until the water runs clear and all the soap and trapped dirt are flushed out. Leaving soap and grit in the fibers lets that grit dry in place, and a mitt put away dirty is a mitt that scratches paint the next time it is used. Wring it gently and let it air dry fully. In the Gulf Coast humidity around Tomball, drying matters: a mitt that stays damp in a closed garage can develop mildew and odor.
When the mitt needs a real wash, machine wash it on its own or with other microfiber, never with regular laundry that sheds lint and fibers. Use a dedicated microfiber detergent or a small amount of a gentle, residue-free detergent. Crucially, skip the fabric softener. Fabric softener coats the fibers with a waxy film that destroys their ability to absorb water and lift dirt, which is the entire point of the mitt. Tumble dry on low or no heat, or air dry. High heat melts and mats synthetic fibers and stiffens wool, both of which reduce the softness that protects the paint.
Replace the mitt when it stops doing its job. Matted, flattened, or stiff fibers no longer trap dirt the way fresh pile does, and a worn mitt gradually becomes more like a sponge. There is no fixed mileage on a mitt; inspect it. If the pile has gone flat and hard despite proper cleaning, retire it to wheel duty or the trash and start fresh. A new quality mitt costs little, and it is cheaper than the correction needed to remove the swirls a worn-out one leaves behind.
When washing well is not enough
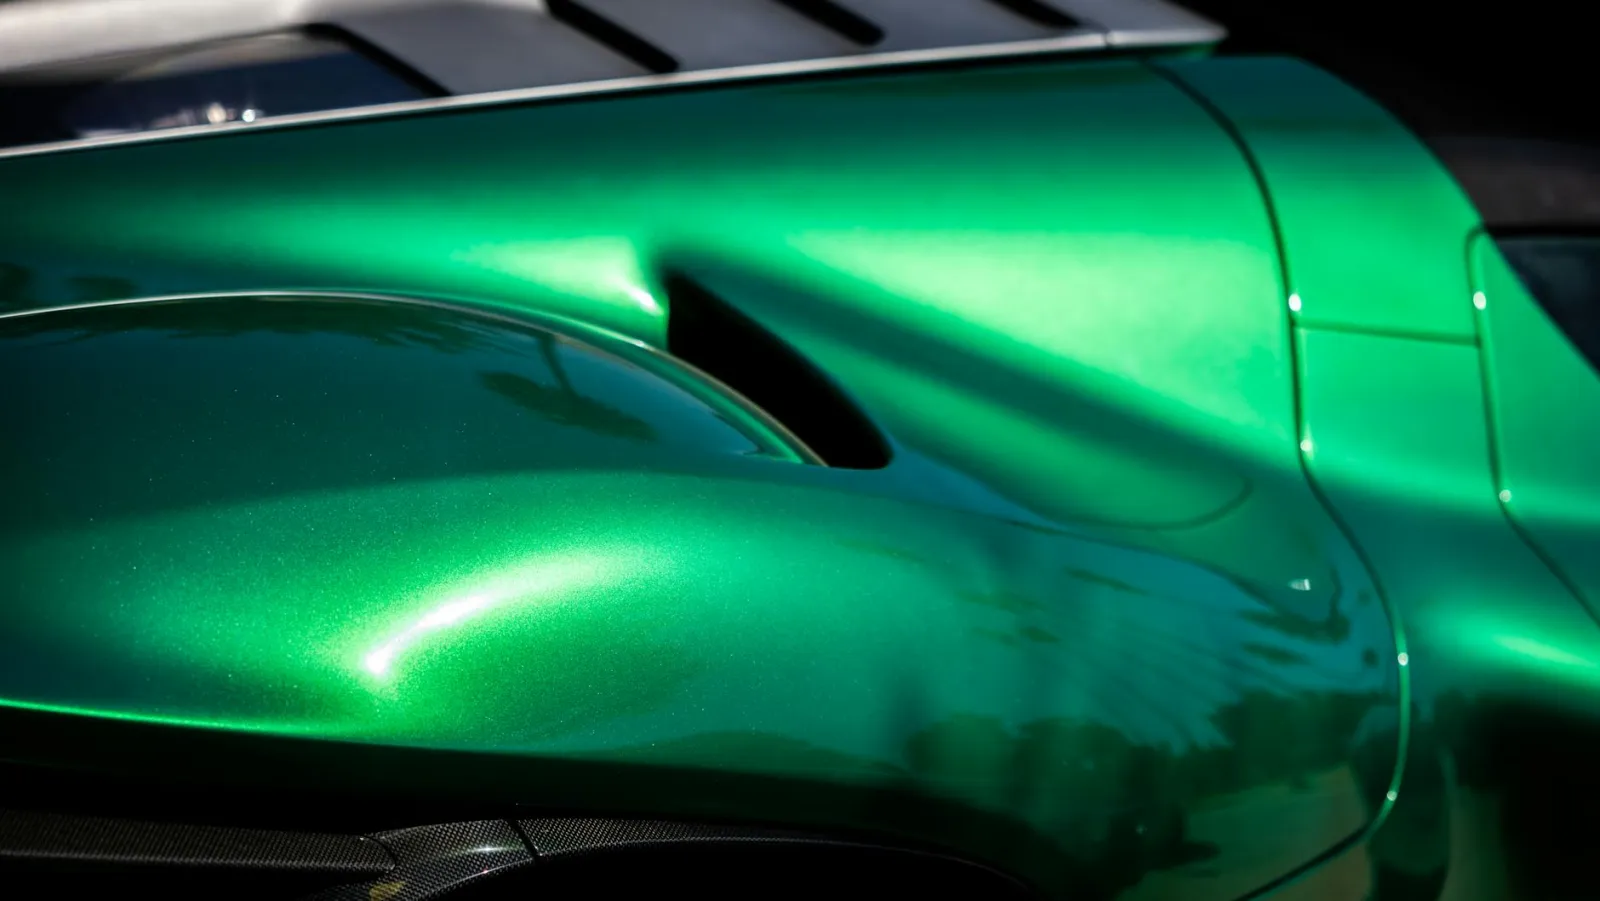
Choosing the right mitt and caring for it correctly prevents new swirl marks. It does not remove the ones already in the paint. If a finish already shows visible swirls and spider-webbing under direct light, or feels rough after a careful wash because of embedded contamination, those defects are already in the clear coat, and washing, no matter how careful, will not lift them out. That is the job of decontamination and paint correction, which levels the clear coat and restores clarity before any protection goes on top.
The right sequence is to correct what is there, protect the corrected finish, and then maintain it with safe washing so the defects do not come back. A good mitt is central to that last step, because the cleanest correction in the world gets ruined fast by a sponge or a tunnel wash. If you want your paint assessed, or you want to know whether your finish needs correction before you commit to a maintenance routine, call EuroLuxe at (346) 920-4372. The shop is at 11701 Holderrieth Rd in Tomball, and the conversation starts with what your specific paint actually shows.
The wash mitt is not a glamorous purchase, and it rarely gets the attention the coating or the film does. But it is the one tool in direct contact with the paint on every single wash, which makes it one of the most important decisions an owner makes. Buy a good one, keep it clean, retire it when it wears out, and use it as part of a real system. Get that right, and most wash-induced damage simply never happens.