
The two-bucket wash method: how and why it works
Most paint damage does not happen on the highway. It happens in the driveway, during a wash. The culprit is almost always the same: a single bucket of dirty water, a sponge or low-quality mitt, and a technique that drags abrasive particles across the clear coat thousands of times before the job is done. The result is a network of fine scratches and swirl marks that flatten the paint’s depth and catch light at every angle. The two-bucket wash method exists specifically to break that cycle.
The concept is simple. One bucket holds clean shampoo solution. The other holds plain rinse water. After loading the mitt with soap from the wash bucket and making a pass across a panel, you rinse the mitt in the rinse bucket before going back for more soap. That single change stops you from dragging the contaminants you just lifted off the paint right back onto it. Done consistently, it is one of the most impactful habits a vehicle owner can develop between professional services.
What goes in each bucket
Start with two buckets of the same size — five-gallon units are standard. Into the wash bucket, mix a dedicated automotive shampoo at the concentration the manufacturer specifies. Most pH-neutral car shampoos are formulated to lubricate the mitt’s contact with the paint while lifting and suspending dirt without stripping any existing protection. Do not use dish soap. Dish soap is engineered to cut grease aggressively, and it will strip wax, polymer sealants, and over time, even begin to degrade the hydrophobic properties of a ceramic coating.
The rinse bucket gets plain water, nothing else. Its job is to receive dirty mitt, agitate contaminants off the fibers, and send the mitt back to the wash bucket cleaner than it arrived. A grit guard placed at the bottom of each bucket improves performance considerably. The guard is a rigid plastic grid that sits a few inches off the bucket floor. When you drag the mitt across it, contamination falls below the grid and stays there instead of floating back up to load onto the mitt again.
Choosing the right wash mitt
Bucket hygiene means nothing if the mitt itself is wrong. Open-cell microfiber wash mitts are the correct tool. The long, plush fibers encapsulate dirt particles rather than pushing them across the surface, and the soft texture maintains contact with the paint without the abrasion of a sponge or natural chamois. Look for a mitt with a long pile — generally 70mm or longer — and wash it after every use. A contaminated mitt stored between washes will harden, lose its lifting ability, and scratch the next car you touch it to.
Synthetic wool mitts are also acceptable and are preferred by some installers for their water-holding capacity, but they require the same discipline: rinse thoroughly in the rinse bucket during the wash, and clean or replace them regularly. Whatever you choose, avoid the round foam sponges sold at gas stations. They hold dirt against the surface rather than lifting it away.
Wash sequence and technique
Before the mitt touches the paint, rinse the vehicle thoroughly with a hose or pressure washer. This step alone removes a large fraction of the loose surface contamination and dramatically reduces the load on your mitt. Work top to bottom throughout the entire wash. Roof first, then glass, then upper body panels, and finally the lower sections, rocker panels, and wheels. Lower panels carry the heaviest contamination — road grime, brake dust, tar, and oil — and if you work those areas first, you carry that contamination upward across cleaner paint.
Apply gentle, straight-line strokes rather than circular motions. Circular washing is what produces swirl marks in pattern. Straight strokes limit the spread of any missed abrasive particle to one narrow line rather than a wide arc. Work one panel at a time, and rinse each panel before the shampoo dries on the surface. In direct Texas sun, shampoo can dry in minutes and leave residue that bonds to the clear coat.
After the wash: drying correctly
How you dry the car matters as much as how you washed it. Air drying leaves water spots, particularly in North Houston where water hardness varies across municipalities — The Woodlands, Conroe, and Tomball all pull from different sources with varying mineral content. Those minerals remain on the surface when the water evaporates and, over time, can etch lightly into an unprotected clear coat or compromise the hydrophobic layer on a ceramic coating.
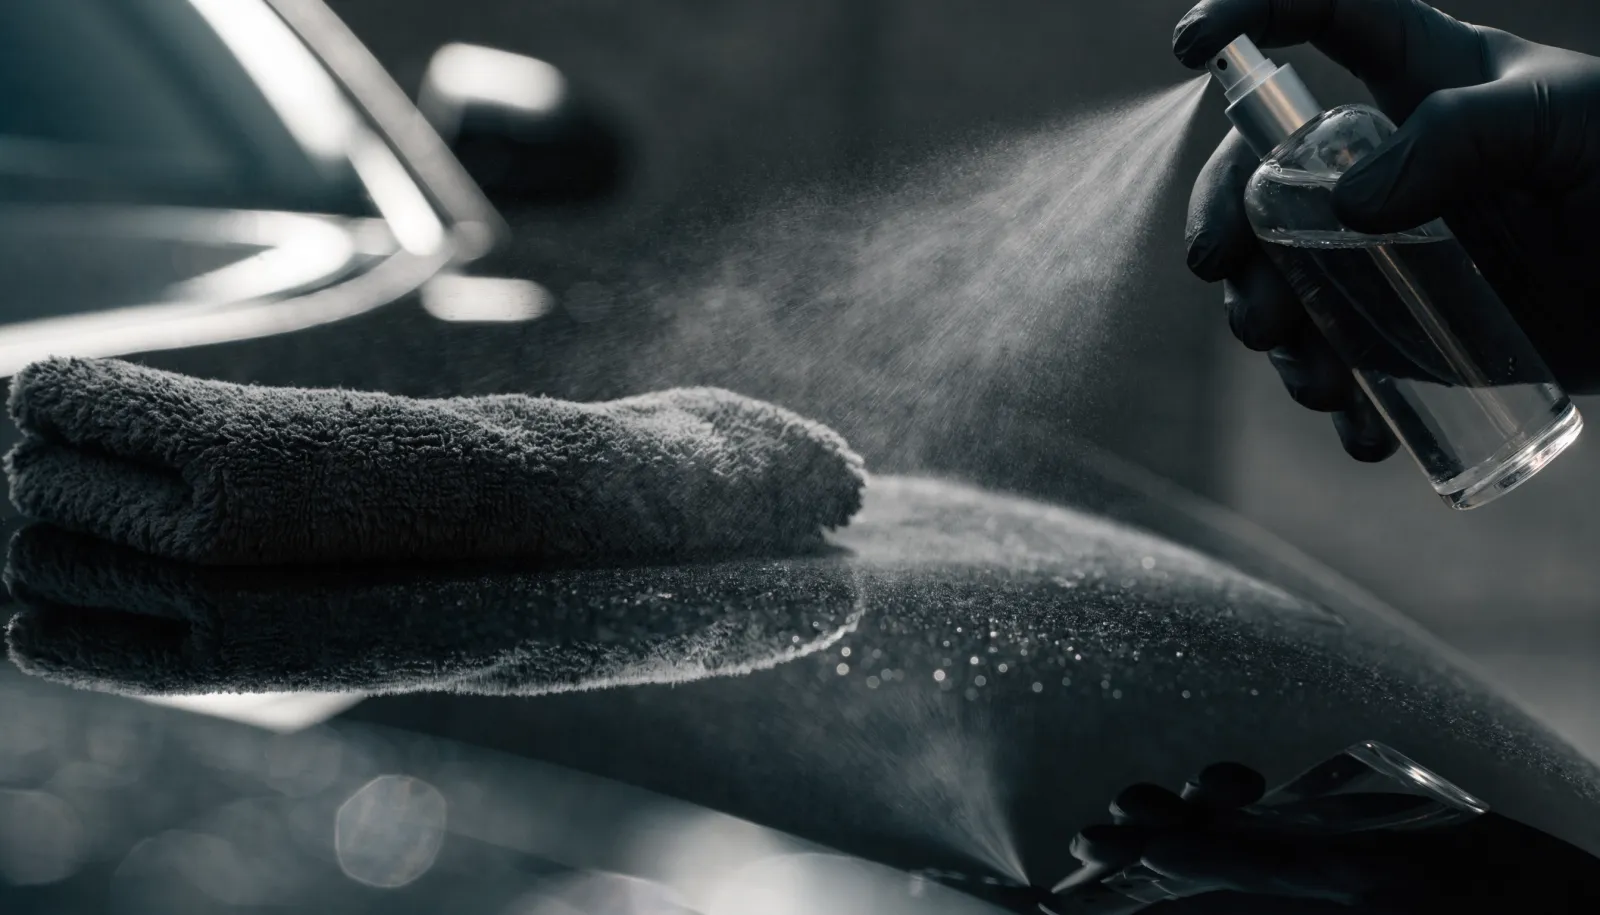
Use a large, high-pile microfiber drying towel or a dedicated waffle-weave drying towel. Lay it flat on the panel and drag it slowly rather than scrubbing. Alternatively, a handheld leaf blower or car dryer directs air into panel gaps and eliminates most of the surface water before the towel ever contacts the paint, reducing friction further. If your vehicle has a ceramic coating applied, a quick detailer spray between the panel and the towel provides additional lubrication and helps maintain the coating’s surface energy.
How this fits into a broader protection strategy
The two-bucket method protects whatever you have already invested in — whether that is factory clear coat, a paint correction, or a professionally applied ceramic coating. It is not a substitute for any of those things, but it is the maintenance layer that determines how long they perform well. An owner who washes with a tunnel wash every two weeks will load swirl marks into their clear coat regardless of what sits underneath. An owner who uses the two-bucket method every time will preserve the work that was done and keep the paint reading as intended under light.
For vehicles carrying paint protection film, the same principles apply. PPF still accumulates surface contamination, and washing technique affects how the film looks and how the topcoat performs over time. Films with a ceramic topcoat respond well to pH-neutral shampoos and poorly to aggressive degreasers.
When technique is not enough
Even diligent two-bucket washing cannot undo existing damage, and it cannot remove bonded contamination like iron fallout, tree sap, or tar. If the paint already shows swirling, hazing, or fine scratches before you start washing, you are maintaining a damaged surface. Paint correction addresses those defects mechanically. If your paint has reached that point, no wash method will restore the clarity — it needs professional attention before any protective layer goes on top of it.
If you are unsure where your paint stands or want to discuss a maintenance plan built around your specific vehicle and parking situation, call EuroLuxe at (936) 292-6056. Caleb and the team can walk through what your paint actually needs before recommending any service.
The two-bucket method costs almost nothing to implement and takes only a few minutes longer than a careless wash. Over the life of a vehicle, the difference in paint condition between an owner who washes thoughtfully and one who does not is significant — visible under any decent light source and measurable when resale time comes.