What Is Paint Correction? A Complete Guide
Paint Correction Explained
Paint correction is the process of machine polishing your vehicle’s clear coat to remove surface defects — swirl marks, scratches, water spots, oxidation, and other imperfections that dull your paint’s appearance.
Unlike a hand wax or “polish” from a quick-service detailer (which just fills in defects temporarily), true paint correction permanently removes a microscopic layer of clear coat to create a perfectly smooth, reflective surface.
What Defects Can Be Corrected?
Swirl Marks
The most common paint defect. Swirl marks appear as circular micro-scratches visible under direct light, creating a spider-web pattern across your paint. They’re caused by improper washing techniques — especially circular motions with dirty wash mitts, drying with improper towels, and automatic car wash brushes.
Light to Moderate Scratches
Surface-level scratches that haven’t penetrated through the clear coat into the base coat. If you can’t feel the scratch with your fingernail, it’s likely correctable. If you can feel it, it may be too deep for safe correction.
Water Spots
Mineral deposits from hard water, sprinkler overspray, and evaporated rainwater. Light water spots sit on the surface and correct easily. Heavy water spots etch into the clear coat, requiring more aggressive correction.
Oxidation
UV damage that causes the clear coat to become cloudy, chalky, or dull. Correction removes the damaged layer and reveals fresh clear coat underneath. Severe oxidation on older vehicles may require multi-stage correction.
Wash Marring
Fine scratches from contact washing that create a hazy, dull appearance. Less severe than swirl marks but visible under direct light. These correct quickly with light polishing.
Holograms
Buffer trails left by improper machine polishing — usually from inexperienced detailers using rotary polishers. These appear as rainbow-colored streaks under direct light and require skilled correction to remove.
What Can’t Be Corrected?
Deep Scratches
Scratches that penetrate through the clear coat into the base coat (color layer) can’t be polished out. These require touch-up paint, wet sanding, or panel refinishing.
Rock Chips
Physical impacts that remove paint material entirely. These need PPF to prevent and touch-up paint to repair.
Clear Coat Failure
When the clear coat has peeled, flaked, or deteriorated to the point of failure, correction can’t restore it. The panel needs repainting.
Orange Peel
The textured appearance of factory paint (looks like the surface of an orange). While wet sanding can reduce orange peel, it’s an aggressive process that removes significant clear coat and is typically only done on show vehicles.
The Paint Correction Process
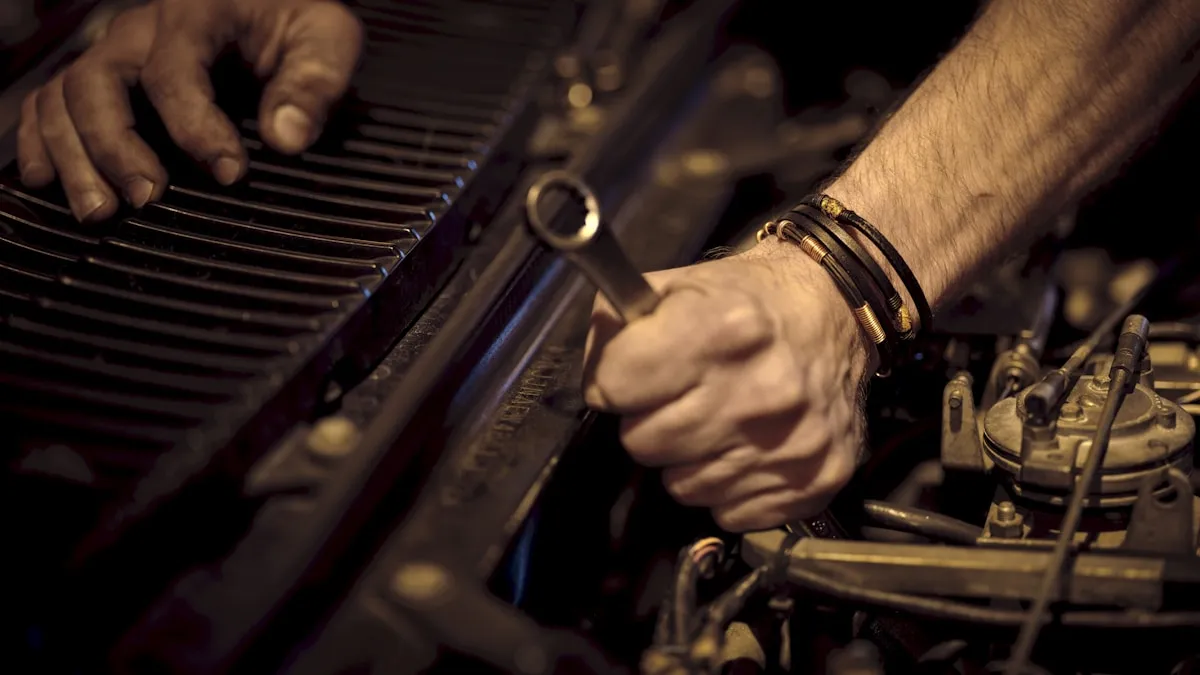
Step 1: Wash and Decontamination
The vehicle is thoroughly washed, clayed, and chemically decontaminated to remove all surface contamination. Polishing over contaminants would grind them into the paint.
Step 2: Paint Depth Measurement
We use a paint depth gauge to measure clear coat thickness across every panel. This tells us how much material we have to work with and prevents over-correction that could damage the clear coat.
Step 3: Test Spot
We perform a test correction on a small area to determine the right combination of pad, compound, and machine speed for your specific paint. Different manufacturers, colors, and paint types respond differently to correction.
Step 4: Cutting Stage
Using a cutting compound and medium pad on a dual-action polisher, we remove the bulk of the defects. This stage is where swirl marks, scratches, and water spots are eliminated.
Step 5: Finishing Stage
A finer polish and softer pad refine the surface to a mirror finish. This stage removes any micro-marring from the cutting stage and maximizes gloss.
Step 6: IPA Wipe and Inspection
An isopropyl alcohol wipe removes polish residue and fillers, revealing the true corrected surface. We inspect every panel under LED lighting to confirm all defects have been addressed.
Correction Levels
Enhancement Polish (Level 1)
- Removes 50-70% of defects
- 2-4 hours of work
- Best for: New vehicles, well-maintained paint, pre-coating preparation
- Price range: $300-600
Two-Stage Correction (Level 2)
- Removes 80-95% of defects
- 4-8 hours of work
- Best for: Daily drivers, moderate swirl marks, visible scratches
- Price range: $500-1,000
Multi-Stage Correction (Level 3)
- Removes 95%+ of defects
- 8-16 hours of work
- Best for: Neglected paint, severe oxidation, show preparation
- Price range: $800-1,500+
After Correction: Protect the Results
Paint correction is not a one-time fix unless you protect the results. Without protection, the same defects will return through normal use. The two primary protection options:
- Ceramic coating — A permanent protective layer that resists swirl marks, UV damage, and chemical etching
- PPF — Physical protection against rock chips and scratches
Most clients who invest in professional paint correction follow up with ceramic coating to preserve the results for years.
Get a quote for your vehicle’s paint correction needs.