The Correct Way to Dry Your Car After Washing
Washing Your Car Right Means Nothing If You Dry It Wrong
You can use the best wash mitt, the most pH-neutral soap, and the gentlest technique — then undo all of it by dragging a towel across your paint the wrong way. Drying is where most wash-induced damage actually happens. It’s also where water spots form if you skip the step entirely.
Here’s every drying method ranked from safest to most destructive, with the technique that makes each one work.
Method 1: Forced Air Blower (Best)
A dedicated car dryer or filtered leaf blower is the gold standard. No contact means zero chance of scratching. The air pushes water off the surface and out of crevices — door jambs, mirror housings, trim gaps, grille openings — where towels can’t reach.
How to do it right:
- Hold the nozzle 6 to 12 inches from the surface
- Work from top to bottom, blowing water off panels in sheets
- Spend extra time on crevices where water hides and drips out later
- Use a warm or filtered setting if available — warm air evaporates residual moisture faster
Dedicated car dryers like the MetroVac Master Blaster or the BigBoi BlowR are purpose-built for this. They produce high-volume, filtered air without the debris risk of a standard shop blower. If you’re using a leaf blower, make sure the air intake is clean and you’re not blowing dirt particles onto wet paint.
This is the method professional detailers use on ceramic-coated and PPF-protected vehicles. If you’ve invested in protection, invest in a blower.
Method 2: Drying Aid + Microfiber Towel (Very Good)
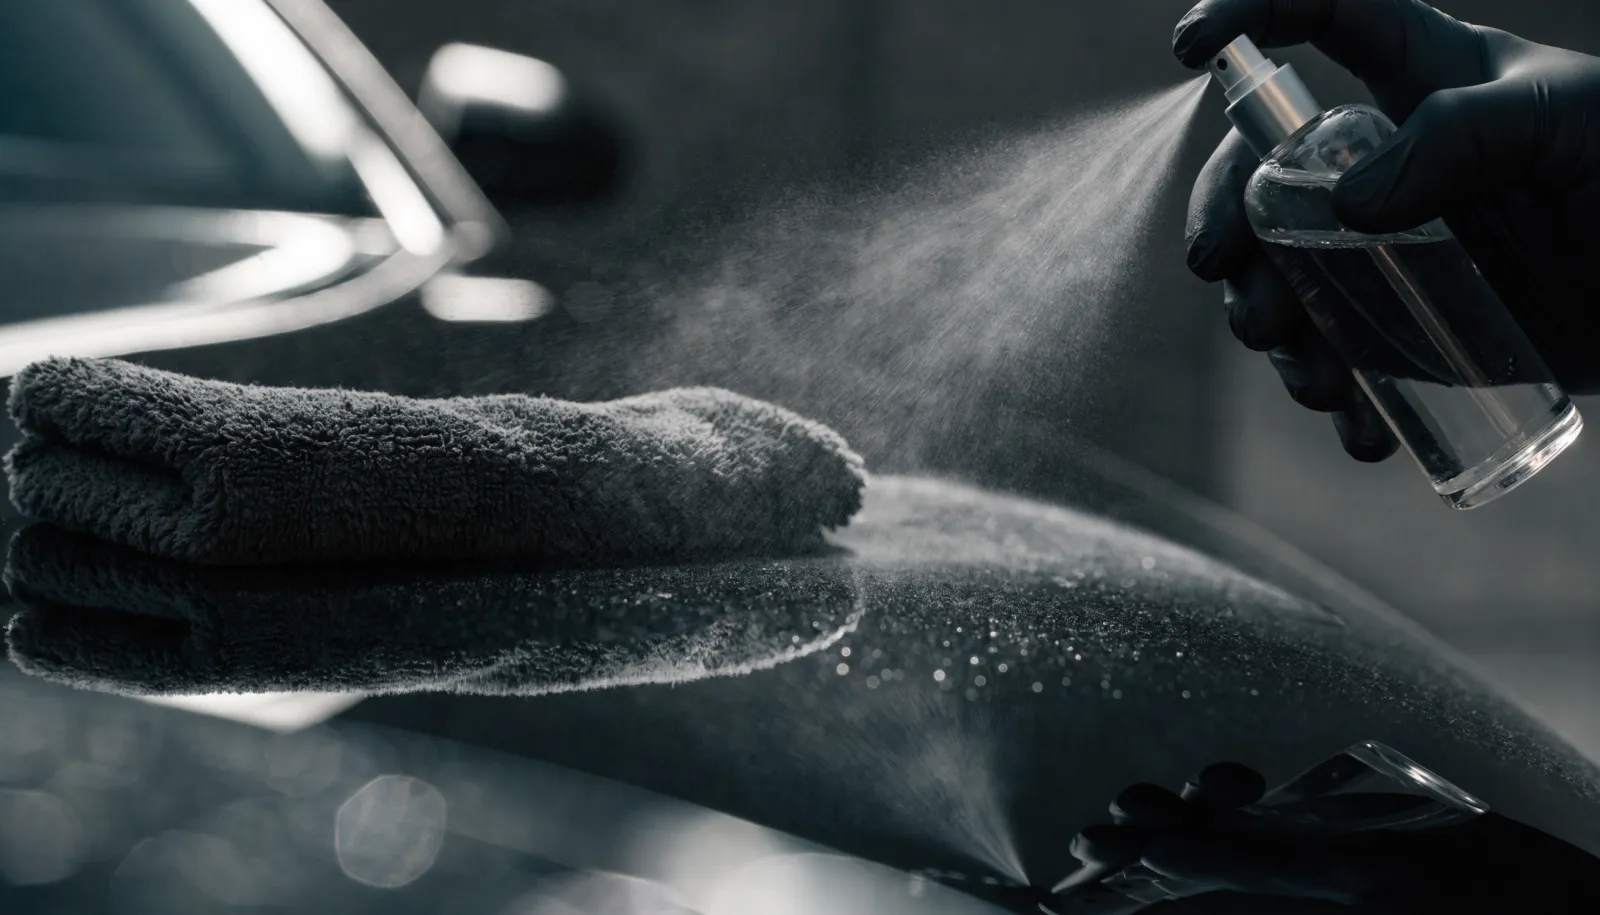
If you don’t have a blower, a high-quality microfiber drying towel paired with a drying aid spray is the next best option. The drying aid is the critical ingredient most people skip.
Why drying aid matters: A drying aid (sometimes called a drying lubricant or quick detailer) adds a layer of lubrication between the towel and the paint. Without it, even a premium microfiber towel creates friction against the surface. That friction, combined with any microscopic contaminants still on the paint, causes fine marring over time.
The right technique:
- Spray a light mist of drying aid onto a 2x2-foot section of the panel
- Lay the microfiber towel flat on the surface — don’t ball it up
- Pat the area gently, then drag the towel lightly in one direction
- Never press hard. Let the towel absorb the water; don’t force it
- Flip or switch to a dry section of the towel frequently
- Use one towel for upper panels (hood, roof, trunk) and a separate towel for lower panels (doors, rockers, bumpers) where more contaminants live
Towel selection matters. Use a waffle-weave or twist-pile drying towel. These are designed to absorb maximum water with minimal contact. Flat-weave microfibers work for detail spraying, but they’re not ideal for drying.
Method 3: Chamois / Synthetic Chamois (Risky)
Traditional chamois (natural leather) and synthetic PVA chamois towels absorb water well, but they come with real drawbacks.
The problem: Chamois towels are flat and dense. They make full contact with the paint and drag across the surface with significant friction. They also don’t trap particles the way microfiber does — any grit on the surface gets dragged along with the chamois, creating fine scratches.
Natural chamois also hardens when dry, which means if you miss a spot and go back over it, you’re rubbing stiff leather on your clear coat.
If you insist on using a chamois, pair it with a drying aid and replace it regularly. But for any vehicle with clear coat you care about — especially dark colors that show swirl marks — microfiber is the better choice.
Method 4: Air Drying (Worst)
Letting your car air dry after washing is the easiest way to guarantee water spots. It sounds harmless, but here’s what actually happens:
Water contains dissolved minerals — calcium, magnesium, silica. When water evaporates, those minerals are left behind as deposits on your paint. These are water spots, and depending on severity, they come in three stages:
- Stage 1: Mineral deposits sitting on top of the clear coat. Removable with a detail spray or light polish.
- Stage 2: Minerals that have begun bonding to the clear coat. Requires a compound or polish to remove.
- Stage 3: Minerals that have chemically etched into the clear coat. Requires paint correction or may be permanent.
In Houston’s hard water, Stage 1 spots can escalate to Stage 2 in a single afternoon of sun exposure. Air drying is never the move.
What About Rinse-and-Drive?
Some people rinse the car and drive it to “blow off” the water. This works partially — highway speed does remove a lot of water — but it doesn’t get water out of crevices, and droplets that cling to horizontal surfaces (hood, roof, trunk) will spot. It’s marginally better than standing air drying but still not a real drying method.
Drying a Ceramic-Coated or PPF Vehicle
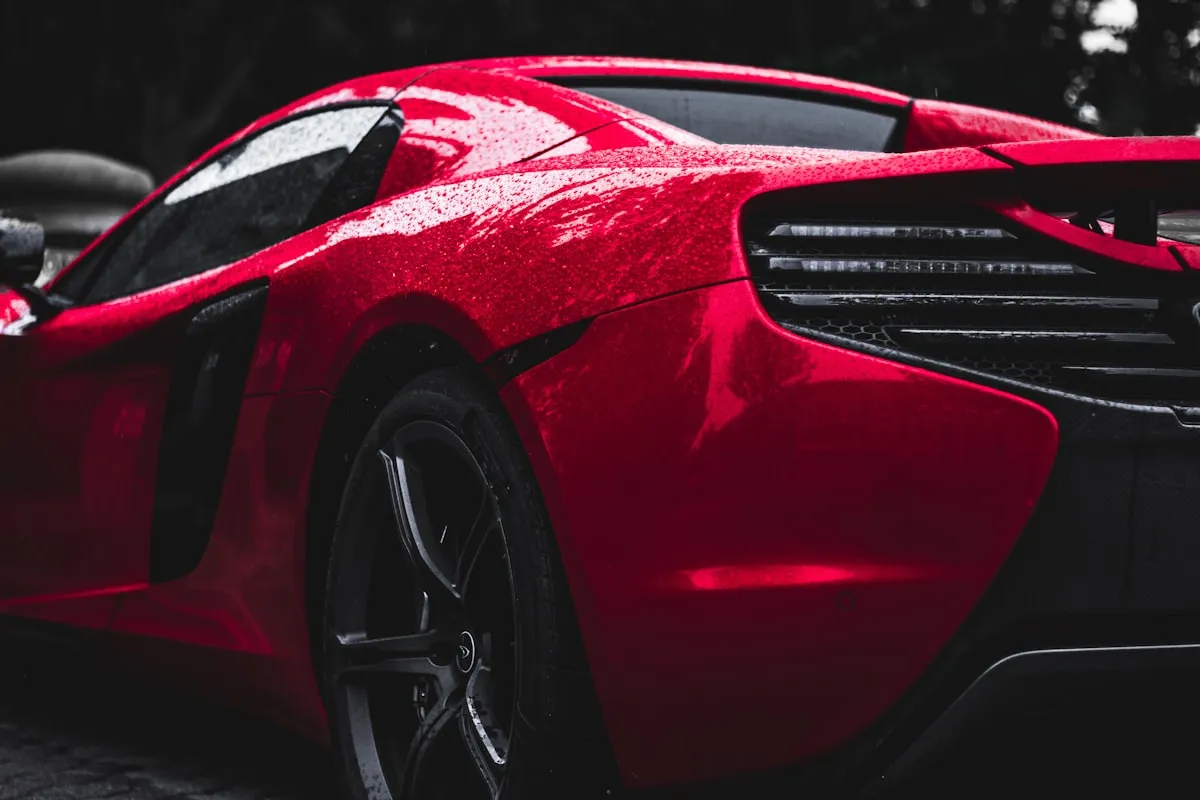
If your vehicle has a ceramic coating or paint protection film, drying is significantly easier because water beads and sheets off the surface instead of clinging to it.
A quick blower pass removes 90% of the water on a coated vehicle. What little remains can be picked up with a light pat of a drying towel. This reduced contact is one of the biggest practical benefits of ceramic coating — every wash carries less risk of creating swirl marks because you’re touching the paint less.
For PPF surfaces, the same rules apply. Use a blower first, then a drying aid and microfiber if needed. Avoid pressing hard on film edges to prevent lifting.
The Takeaway
The safest way to dry your car is to not touch it at all — use a blower. If you need to towel dry, always use a drying aid for lubrication, a clean waffle-weave or twist-pile microfiber, and minimal pressure. Skip the chamois. Never air dry.
If you’re tired of babying your wash routine and want a surface that practically dries itself, ceramic coating makes every wash faster, safer, and easier. Get a quote to see what protection makes sense for your vehicle.