Why paint correction must come before ceramic coating
Most vehicle owners understand that ceramic coating adds protection and gloss. What fewer people understand is that the coating does not fix anything underneath it. It seals the surface exactly as it sits the moment the coating is applied. If the paint has swirl marks from years of tunnel washes, fine scratches from improper drying, or oxidation from sitting outdoors in North Houston’s heat, all of that gets locked in place under a hard, semi-permanent shell. Getting that sequence backwards is one of the most common and costly mistakes in vehicle protection.
This is not a minor aesthetic concern. Ceramic coatings like Gyeon, which we use at EuroLuxe, are formulated to bond to the clear coat and cure into a durable layer that can last several years. Once cured, removing it requires abrasive correction or chemical stripping. If defects were not addressed before application, the only way to address them afterward is to remove the coating first, correct the paint, and reapply. That means paying for two full services instead of one. The right order — correct, then coat — saves time and money while producing a finish that actually looks like what most owners envision when they book a ceramic coating appointment.
What paint correction actually removes
Paint correction is the process of leveling the clear coat — the transparent top layer of your vehicle’s paint system — to eliminate or reduce surface defects. The work is done with machine polishers, compounds, and polishes of varying cut levels, matched to the type and depth of the damage.
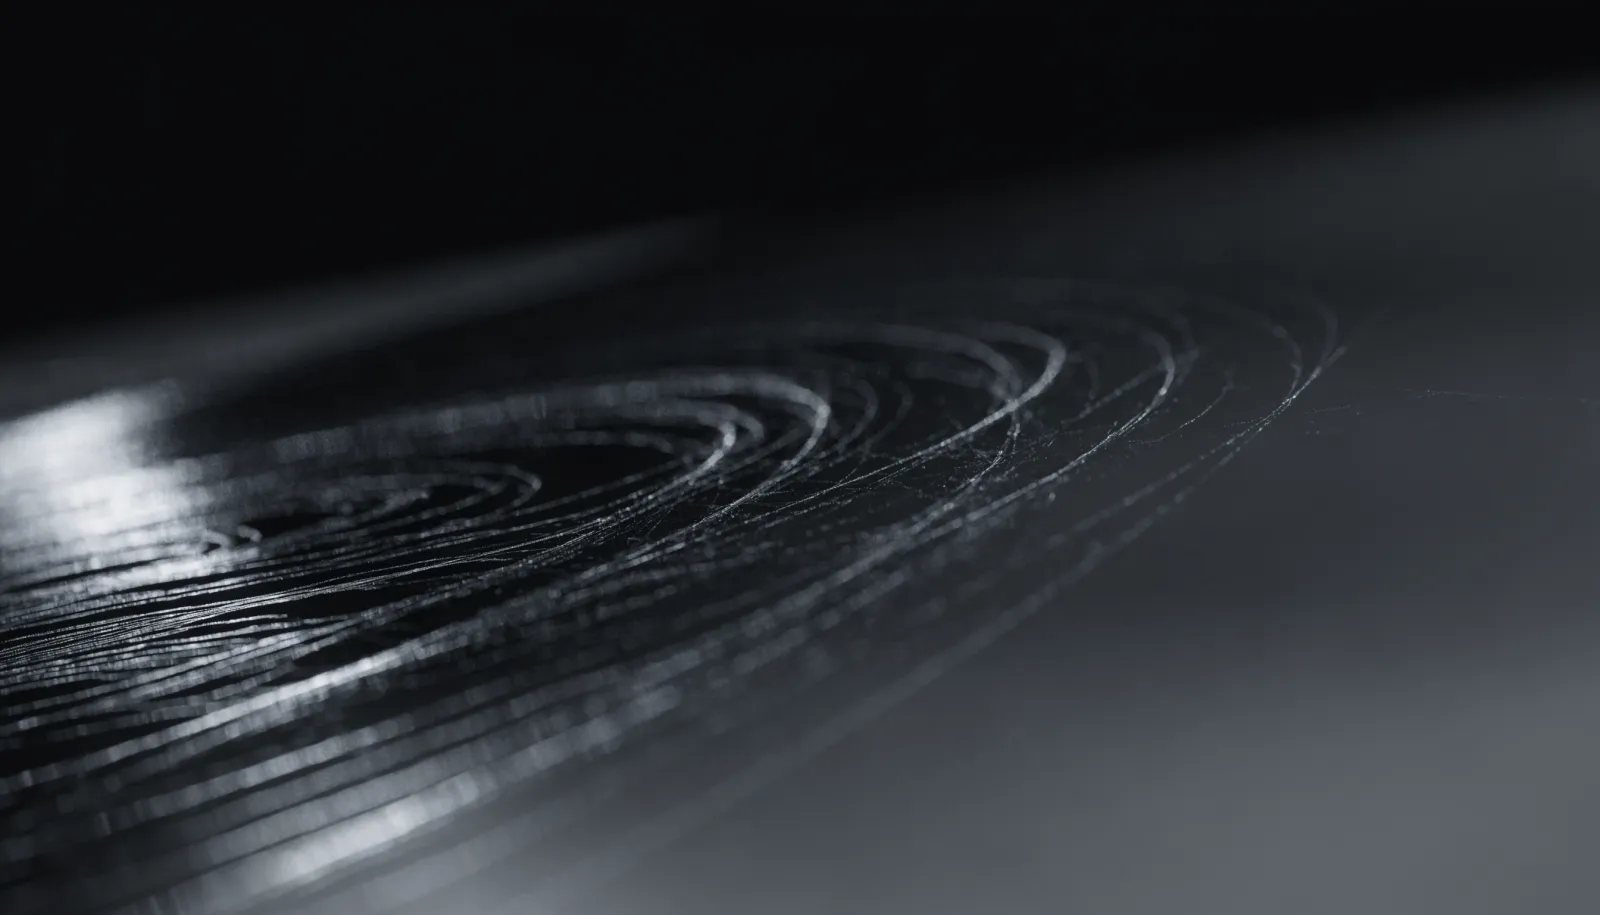
Swirl marks are the most common defect on vehicles in regular use. They appear as circular scratches that catch light, particularly on dark-colored paint. Automatic car washes are the primary cause, but any contact with dirty microfiber towels, sponges, or even dry wiping after a car sits in pollen-heavy air produces them over time. Fine scratches, water spot etching from hard water, buffer trails left by careless prior polishing, and light oxidation on older paint all fall within the range of what correction can address.
What correction cannot fix are defects that have penetrated through the clear coat and into the base coat or primer. Deep stone chips, parking lot scratches that show color or bare metal, and severe clear coat delamination are outside what polishing can resolve. An honest assessment before the work starts will tell you which category your paint falls into, and that assessment is part of the process at a shop doing the job properly.
How defects interact with ceramic coating
Ceramic coatings build optical depth and amplify gloss by creating a smooth, reflective layer over the clear coat. That property works in both directions. A smooth, corrected surface with good gloss reflects light cleanly. A surface with swirl marks and micro-scratches reflects light chaotically, and the coating makes that effect more visible, not less.
The analogy that holds up well in practice: applying a high-gloss floor finish over a scratched wood floor does not hide the scratches. It makes the floor look shinier and the scratches more prominent at the same time. Paint behaves the same way. Ceramic coating over an uncorrected finish produces a result that disappoints most owners, because the vehicle looks glossy but not clean under direct sunlight or shop lighting.
Beyond appearance, there is a mechanical reason to correct before coating. Abrasive polishing generates heat and removes a controlled amount of clear coat to level the surface. That process cannot happen after the ceramic layer has bonded. The coating sits on top of the clear coat and would need to be cut through first, which defeats the purpose of the protection you paid for.
What the correction process looks like before coating
When a vehicle comes in for a combined paint correction and ceramic coating service, the process follows a defined sequence that takes considerably more time than either service done in isolation.
The vehicle is first washed and chemically decontaminated. Iron fallout from brake dust, bonded industrial particles, tree sap, and other contamination that washing alone cannot remove must be addressed before a polisher touches the paint. Skipping this step means polishing contaminants into the clear coat rather than removing them. After decontamination, a clay bar or synthetic clay treatment pulls remaining surface bonded contamination. The paint is then dried thoroughly before any machine work begins.
Under dedicated lighting — the type that reveals every defect a normal garage or outdoor setting would hide — the clear coat is assessed and a test spot is done to confirm which combination of pad and compound or polish achieves the target result without removing more material than necessary. The correction work then proceeds panel by panel. Depending on the extent of defects and the hardness of the vehicle’s clear coat, a single-stage polish may be sufficient, or two stages may be required: a compound pass to remove deeper defects followed by a finishing polish to refine the surface before coating.
After correction, the surface is wiped with a panel prep solution to remove any polishing oils that could interfere with coating adhesion. Only at that point is the paint correction work complete and the surface ready to receive the ceramic coating.
How to assess how much correction your vehicle needs
Not every vehicle needs the same level of work. A vehicle that is two years old and has been hand washed using a two-bucket method may have minimal swirl marks and require only a light polish to refine the surface before coating. A vehicle that spent five years going through automatic washes weekly may need a full two-stage correction to achieve an acceptable level of clarity.
The practical test is to look at the vehicle’s horizontal panels — hood, roof, trunk lid — under direct bright light, either midday sun or bright overhead shop lighting. On dark or black paint, swirl marks appear as a web of fine lines. On lighter paint they are harder to see but still present and still visible under a ceramic coating after the fact. A detailing shop that does not inspect the paint under proper lighting before quoting or starting work is either skipping a step or lacks the equipment to assess what they are working with.
Paint thickness gauge readings also inform how aggressively correction can be performed. Clear coat has a finite thickness, and repeated aggressive polishing over the life of the vehicle depletes it. A professional correction before coating should include a thickness check to confirm safe working margins, particularly on older vehicles or those that show evidence of prior bodywork or respray.
Timing the investment correctly
For vehicles that will receive both paint correction and ceramic coating, the most efficient approach is to schedule both services together rather than coating first and returning later for correction. At that point, as described above, the coating has to come off before any polishing can happen, which adds significant cost and time.
For vehicle owners who are on the fence about whether to correct before coating, a professional assessment answers the question in a single inspection. The paint is what it is, and pretending otherwise does not change the result under sunlight. If the surface is already in good condition, the correction work is minimal and the combined cost reflects that. If the surface needs significant work, correcting before coating is the only path to a result worth the investment.
The same logic applies to vehicles that were ceramic coated elsewhere and were not corrected first. Those owners often return for a re-do after living with the result through a Texas summer and seeing their swirl marks under a perfectly glossy but optically ruined coating. Doing it in the correct order the first time is straightforward. Undoing it costs more than simply starting right.
If you are planning a ceramic coating appointment and want an honest assessment of what your paint needs first, call EuroLuxe Detailing at (936) 292-6056 to schedule an inspection at our Tomball facility.
Paint correction before ceramic coating is not upselling — it is the logical prerequisite for a result that holds up over the life of the coating. The two services are designed to work together in a specific sequence, and respecting that sequence is the difference between a finish that looks the way it should and one that preserves defects under a layer that was meant to protect them.