What happens before the polisher comes out: paint correction prep
Most vehicle owners picture paint correction as a technician running a polisher across the hood while swirl marks disappear. That part exists, but it represents maybe thirty percent of the actual process. The other seventy percent happens before the machine ever touches the paint, and it determines whether the polishing stage produces a flawless result or compounds an existing problem.
Skipping or rushing prep is the single most common reason amateur correction work looks acceptable in the driveway but poor under direct sunlight. Contaminated paint loads a polishing pad with embedded particles that drag across the clear coat during cutting. Inadequate inspection leads to wrong compound selection. Neither mistake is recoverable without starting over. A professional studio treats prep as the correction itself—the polisher is just the finishing tool.
Understanding what happens in that prep phase gives you a clear picture of why the service takes the time it takes and why the result holds up long after the appointment is finished.
The wash is not optional and it is not a rinse
Every correction job starts with a full decontamination wash, not a quick rinse before polishing begins. The first pass is a foam prewash using a high-dwell, pH-neutral foam that softens and suspends surface contamination—road grime, industrial fallout, pollen residue, and loose environmental debris—without mechanically touching the paint. This matters because dragging a wash mitt across unlubricated paint embeds particles into the clear coat before any correction tool is introduced.
After the foam is rinsed, a chemical decontamination step addresses two categories of bonded contamination that a soap wash cannot remove. An iron fallout remover reacts with embedded ferrous particles—brake dust, rail dust, industrial metallic debris—and makes them visible as purple bleed before rinsing them off the surface. Tar and adhesive remover handles petrochemical deposits along the lower rocker panels, behind the wheels, and on any surface that sees concentrated road spray.
These contaminants bond into the clear coat over time. If they remain during polishing, they act as abrasive points under the pad, creating fine marring in the corrected surface. The chemical decontamination step is non-negotiable on any vehicle that has not been through a recent professional decon service.
Clay decontamination and why the paint needs to feel clean before it looks clean
After the chemical steps, the surface is chemically clean but often not mechanically clean. A clay bar or synthetic clay media is worked across every painted panel using a generous amount of lubrication. The clay lifts bonded overspray, remaining embedded particles, and anything the chemical decon softened but did not fully remove.
The standard test is running a bare hand across the paint surface inside a clean plastic bag, which amplifies tactile feedback. Before claying, most surfaces feel like fine-grit paper. After a thorough clay pass, the paint should feel glassy. That texture difference is the difference between a pad that glides and cuts efficiently and one that chatters across the surface.
The clay stage also surfaces a practical reality: some vehicles that look clean are heavily contaminated. White and silver cars in particular accumulate iron fallout that is invisible until the fallout remover reacts. A vehicle parked near rail lines or construction corridors will require multiple product passes before the clay reads as clean.
Paint inspection under controlled lighting
Once the vehicle is chemically and mechanically decontaminated, it moves into the inspection stage. This requires direct lighting—LED correction lights, a focused inspection lamp, or both—positioned at raking angles across each panel. Overhead ambient light hides most defects. Raking light pulls them forward.
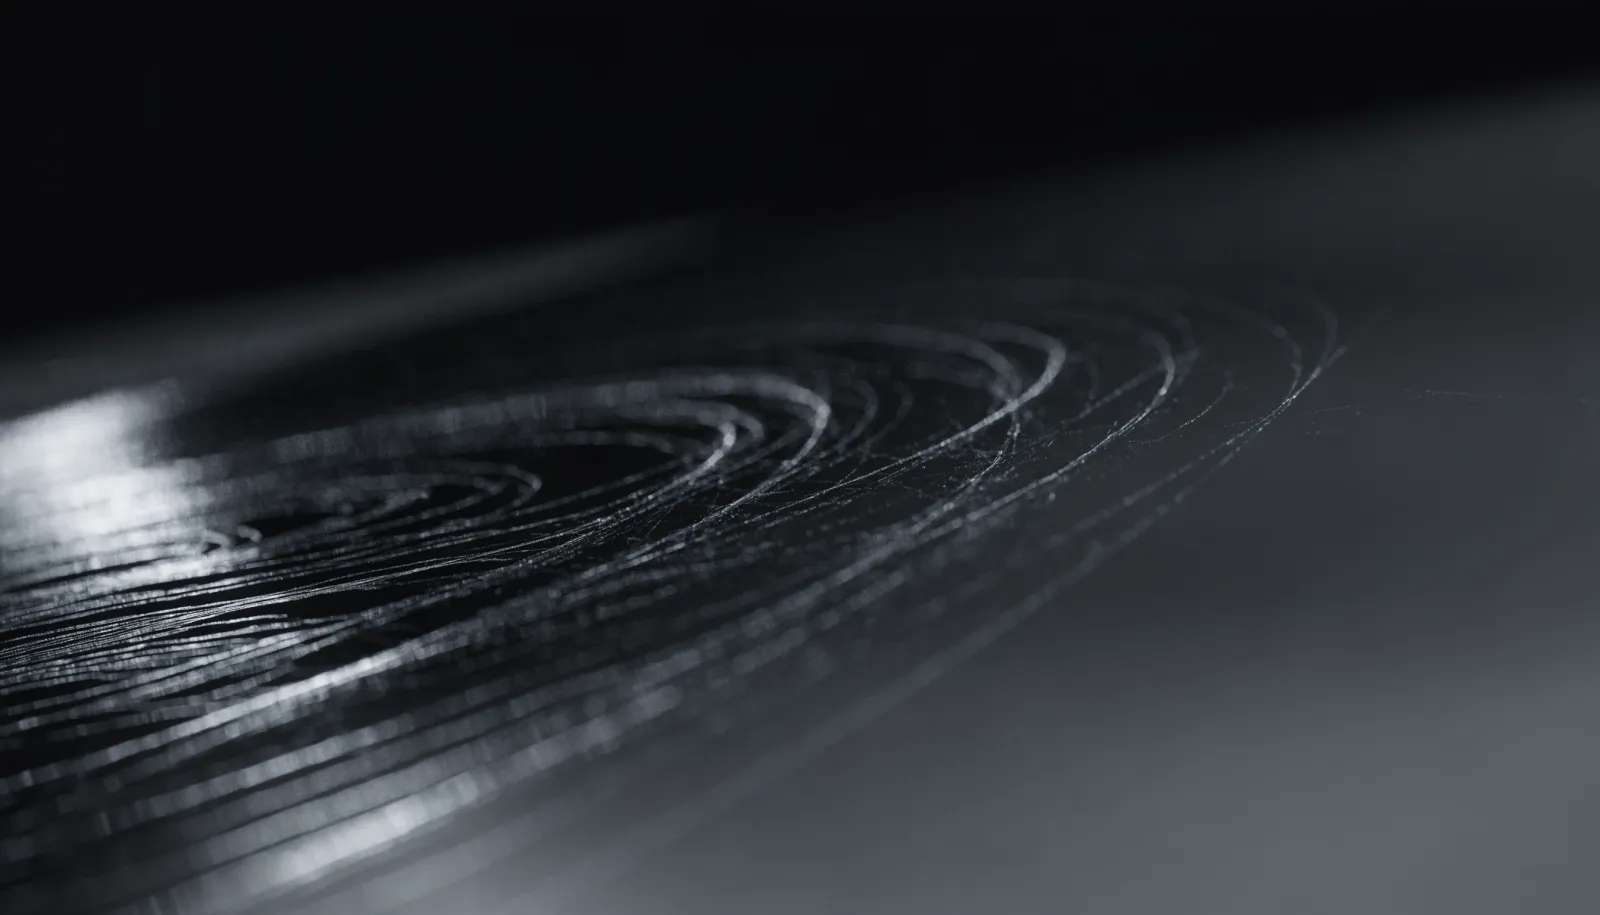
This is when the full extent of swirl marks, random isolated scratches, water spot etching, and any deeper damage becomes visible. A digital paint thickness gauge is run across every panel to measure remaining clear coat depth. Clear coat is finite—typically somewhere between one hundred and two hundred microns on most factory paint, though this varies significantly by manufacturer and model year. Each polishing pass removes a small fraction of that clear coat. Knowing current thickness before beginning tells the technician how aggressive the compound selection can be and how many passes the paint can tolerate across its service life.
Panel-by-panel thickness readings also reveal prior repair work. A repainted fender or bumper often reads significantly thicker than adjacent factory panels, or in the case of poor refinish work, thinner. A panel that has been through multiple correction sessions previously may read thin enough that only a light polish is appropriate regardless of the defect severity. Trying to chase a deep scratch out of a thin-coated panel risks cutting through to the primer layer, which turns a cosmetic problem into a paint shop problem.
This is also the stage where realistic expectations are established. Paint correction can remove or significantly reduce defects that exist within the clear coat. It cannot remove scratches that have penetrated through to the basecoat or primer. A skilled technician will identify which defects are correctable and communicate that clearly before any polishing begins.
Test spot and compound selection
Before committing to a full-vehicle correction, a test spot is run on a non-prominent panel—typically an inner door panel or a section of the roof. The test spot uses a chosen compound and pad combination on a small area, then the section is wiped clean and inspected under lighting.
Test spots answer two questions. First, is this compound and pad combination removing the target defects adequately. Second, is the compound leaving secondary marring from the cut that requires a finishing polish to refine. A single-stage correction with a heavier compound might remove swirl marks but leave haze that dulls the final result. A two-stage approach—cut compound followed by a finishing polish—addresses both. The test spot determines which approach is appropriate for this specific vehicle’s clear coat hardness and defect severity.
Harder clear coats, common on German and Japanese vehicles, resist cutting but also resist marring from a heavier pad. Softer clear coats, which appear on some domestic vehicles and older European models, cut more easily but also show secondary marks from aggressive compounds faster. There is no single correct combination across all vehicles, which is why the test spot is a functional step and not a formality.
Panel masking and interior protection
Before polishing begins, rubber trim, plastic door handles, exposed weather stripping, and any unpainted surface adjacent to a panel being corrected is taped off. Compound and polish work into rubber and plastic trim, staining it white and requiring additional cleanup time. Proper masking is faster than cleaning compound residue out of textured trim.
Vehicle interiors are covered to protect against compound mist and pad splatter, which travel further than expected during machine polishing. Climate control matters here as well—correction work done in excessive heat causes compound to dry out prematurely on the surface, reducing cut effectiveness and leaving residue that is difficult to remove cleanly. EuroLuxe’s climate-controlled installation bay addresses this directly, keeping conditions stable regardless of what the temperature is doing outside on any given day.
Why prep determines the outcome
Paint correction results are graded under lighting, not in a parking lot. A vehicle that has been through thorough decontamination, properly inspected, tested for compound selection, and correctly masked before the polisher starts will finish significantly better than one that received a quick wash and went straight to cutting. The prep stage is also where the correction technician builds an accurate picture of what the paint can handle, which protects the clear coat across the life of the vehicle.
If you are considering a paint correction service before a ceramic coating, a sale, or simply to restore a vehicle that has accumulated years of wash-induced damage, the conversation starts with what the paint actually looks like under proper lighting—not what it looks like in a parking garage. You can reach EuroLuxe Detailing at (936) 292-6056 to talk through what the process looks like for your specific vehicle and what stage of correction is appropriate given its condition and history.
Prep work does not photograph well, and it rarely gets mentioned in a quick before-and-after post. But it is the difference between a correction result that holds up and one that looks good for thirty days before the underlying contamination and prep shortcuts become visible again.