How to keep your paint correction results from day one
Paint correction is one of the more labor-intensive services a vehicle can receive. A thorough two-stage correction on a dark sedan can take ten to fourteen hours of machine work, inspection under specialized lighting, and careful attention to clear coat depth. When the car leaves the shop, the paint looks the way it did before years of automated car washes, improper hand washing, and parking lot door brushes had their way with it. The problem is that most owners go right back to the habits that caused the damage in the first place.
This is not about finding fault. Most drivers have never been taught what actually scratches paint, and the automotive care industry has spent decades selling products that feel satisfying to use but cause real damage at the microscopic level. Understanding why correction results degrade — and how to slow that process down significantly — is straightforward once you know what to look for.
If you have already invested in paint correction or are planning to before applying a coating, what follows is a practical guide to extending those results as long as possible.
What you are actually protecting after a correction
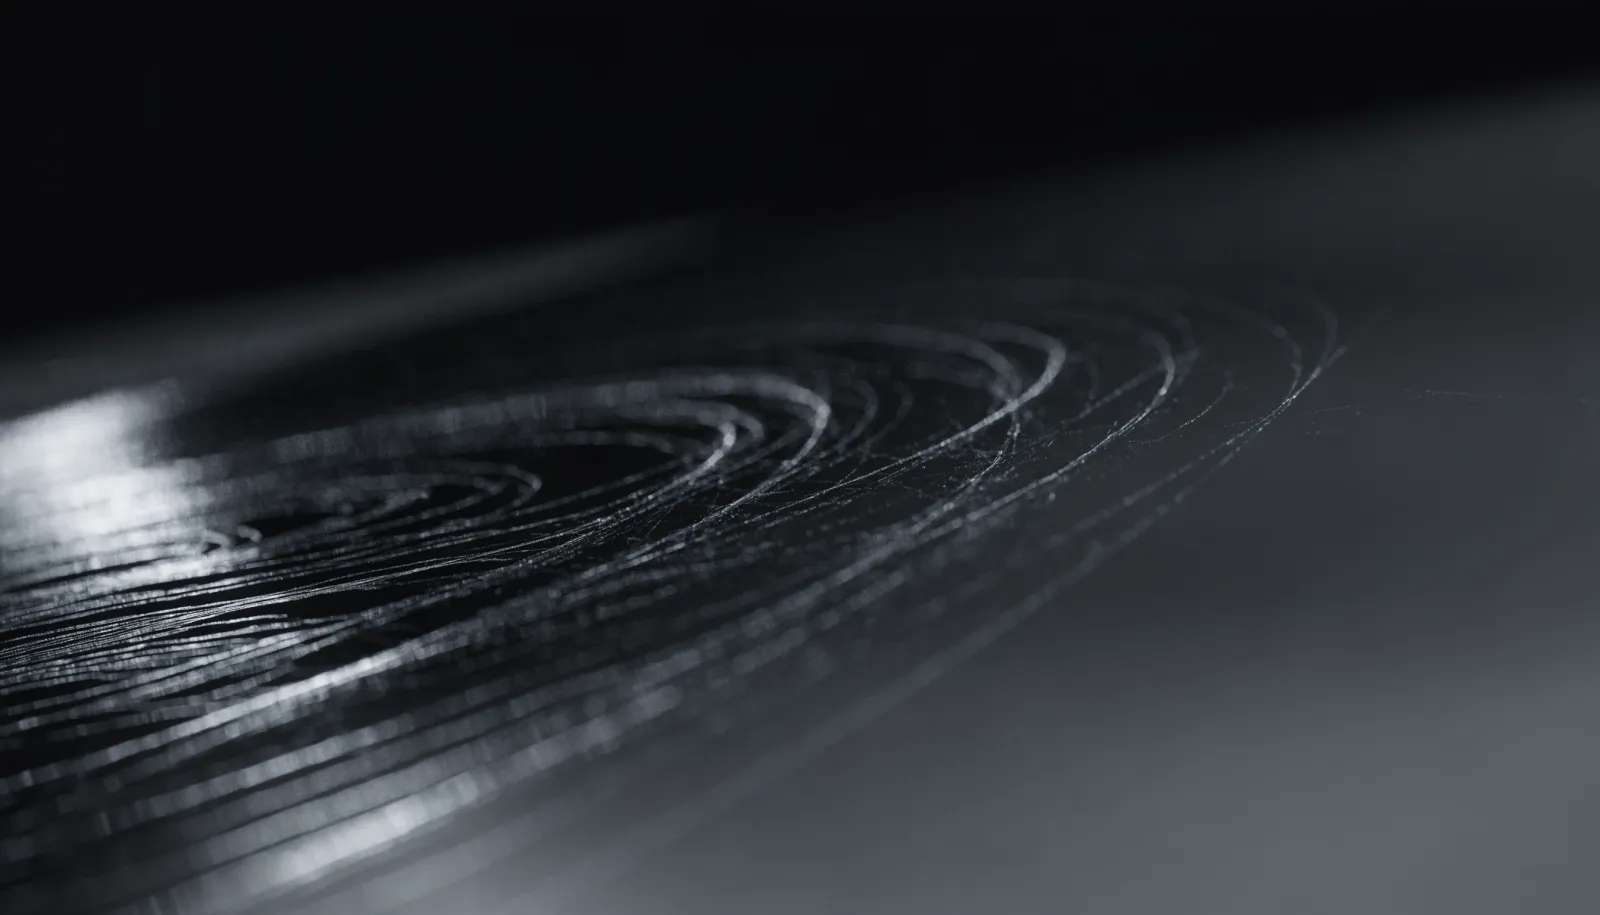
Clear coat on a modern vehicle is typically between 100 and 200 microns thick, depending on the manufacturer and model year. Paint correction removes a small amount of that material — usually between two and ten microns per stage — by abrading the surface with compound or polish to bring the peaks and valleys of swirl marks level. The result is a flatter, more reflective surface that scatters less light and shows truer color depth.
What correction cannot do is add clear coat back. Every subsequent wash, every drag of a contaminated microfiber across the surface, and every trip through an automated tunnel removes or damages some portion of what remains. The long-term goal of post-correction maintenance is to minimize every unnecessary contact with the paint surface and to make the contacts that do happen as low-friction as possible.
This is why the conversation about maintenance always returns to wash technique. It is not a minor point. It is the primary variable in how long corrected paint stays corrected.
The two-bucket method is not optional
If you wash your own car, the two-bucket method is the single highest-return change you can make. The concept is simple: one bucket holds clean soapy water for loading your wash mitt, and a second bucket holds plain rinse water where you agitate the mitt after each panel to release trapped grit before going back to the soap bucket. A grit guard insert at the bottom of the rinse bucket traps the debris below the waterline so it does not recirculate onto the mitt.
Without this process, every pass of the mitt after the first one introduces microscopic particles from the paint surface back into contact with the clear coat. That is the mechanism behind most wash-induced swirl marks. The abrasive particles — road dust, sand, brake dust — get caught between the mitt and the paint and dragged across the surface under hand pressure. The two-bucket method does not eliminate that risk entirely, but it reduces it dramatically.
Mitt selection matters as well. A genuine sheepskin or high-pile microfiber wash mitt holds contaminants in the pile fibers rather than dragging them across the surface. Sponges, chamois, and low-quality microfiber cloths do not provide that separation. Replace your mitt regularly, especially if it has been dropped on the ground.
Pre-wash and contact wash sequencing
The correct sequence for washing corrected paint is pre-wash first, contact wash second. A pre-wash step — foam cannon application, a dedicated pre-wash spray, or even a thorough rinse with pressure — softens and removes the majority of loose surface contamination before your mitt ever touches the paint. When you skip this step, that first mitt pass becomes a grinding operation.
Foam cannons have become more accessible in recent years, and they are worth using. Apply the foam, let it dwell for two to three minutes, and rinse it off. You will see the amount of brown runoff and you will understand why you would not want to rub that material across your clear coat. Only after a thorough rinse should you introduce a mitt to the surface.
Washing in shade or during cooler morning hours reduces the risk of soap drying on the surface before you can rinse it. In North Houston, summer temperatures can cause wash water to evaporate quickly on horizontal panels, leaving mineral deposits and soap residue. Start at the top of the vehicle and work downward so rinse water carries contamination away from panels you have already cleaned.
Drying technique and contact after the wash
Drying is where a lot of otherwise careful owners undo their work. Dragging a damp terry cloth towel across a freshly washed panel is the same problem as washing without a pre-wash step — you are introducing friction and trapped contaminants to a sensitive surface.
Two options work well. The first is a high-pile waffle-weave microfiber drying towel used with minimal pressure, section by section. The second is a forced-air blower or leaf blower on low, which eliminates contact entirely. The blower method is particularly effective around mirrors, trim edges, door jambs, and other areas where water tends to pool and drip back onto dry panels.
Do not wring a wet towel out and drag it across the paint. Do not use the same microfiber towels for drying that you use for applying product. Keep your drying towels clean, dry them separately in the laundry, and retire them before the pile wears down.
What to apply between professional services
A properly executed paint correction followed by a ceramic coating is the most durable foundation you can put on corrected paint. The coating provides a sacrificial layer of hardness above the clear coat, making subsequent wash-induced marring significantly less likely. Without a coating, corrected bare clear coat is susceptible to every wash event.
If you have corrected paint without a coating, a professional-grade spray sealant or detail spray applied after each wash provides a thin layer of protection and lubrication. These products are not long-term protection solutions, but they do reduce friction during the inevitable contact events between washes. Apply them to a clean, dry surface and remove with a clean microfiber before the product hazes.
Avoid all-in-one polish products, spray waxes with abrasives listed in the ingredients, and any product marketed as a scratch remover for home use. These contain light abrasive compounds designed to mask minor defects by producing a thin haze of fill, and they add to the degradation of your clear coat over time.
Automated washes and when to avoid them
The guidance here is straightforward. Touchless automatic washes — jets of high-pressure water and chemicals, no physical contact — are the least damaging automated option, though the harsh chemistry in some drive-through touchless systems can strip wax and sealants quickly. Soft-cloth and brush-style automated tunnels should be considered incompatible with corrected paint. The brushes and cloth strips in those systems accumulate grit from hundreds of vehicles per day, and that grit contacts your paint at speed.
For owners who cannot hand wash regularly, a professional hand wash at a quality shop or a touchless self-service bay with a foam applicator and careful mitt work is preferable to an automated tunnel. North Houston has no shortage of options, and protecting a correction investment is worth the extra twenty minutes.
When to schedule the next correction
Even with careful maintenance, corrected paint will accumulate some degree of light marring over time. Annual inspection under a focused light source — a shop light, a handheld LED, or a detailing light held at a low angle — will tell you where the surface stands. Fine haze or isolated light swirling in specific areas, usually the tops of doors and the hood center where wash passes overlap, is a sign that a light one-stage polish would restore the surface before deeper correction becomes necessary.
The interval between corrections depends heavily on how the car is washed, how often it is driven, and whether it carries a coating. A coated vehicle washed carefully every two weeks can go three to four years without needing polishing work. An uncoated car washed in a tunnel twice a month may need attention within a year.
If you have questions about where your paint stands or whether the surface is ready for a coating after prior work, the team at EuroLuxe Detailing can assess it directly. Reach us at (936) 292-6056 to schedule an inspection.
The work done during a paint correction appointment does not maintain itself. How you wash the car, what you use to dry it, and what products you apply between services determines whether the results hold for one year or five. The habits are not complicated — they just require consistency.