
How clear coat thickness limits what paint correction can fix
Every paint correction job begins with a question that most owners never think to ask: how much clear coat is actually left on this car? The answer determines everything — which compounds we reach for, how many passes we can safely make, and whether a full correction is even on the table. Without that number, a technician is working blind, and working blind on paint is how you end up with thin spots, hazing, and a car that looks worse than when it arrived.
Clear coat is not a renewable resource. From the factory, most modern vehicles leave with somewhere between 100 and 200 microns of total paint system depth, and only the top 40 to 60 of those microns are clear coat. Every wash, every detail, every machine polish removes a thin layer. By the time a vehicle is a few years old and has seen a tunnel wash or two, that margin can be significantly smaller than it looks. A paint thickness gauge tells you what you are actually working with before a single pad touches the surface.
Understanding this relationship between correction depth and clear coat reserves is not a technicality reserved for show cars. It applies to any vehicle where the owner wants the paint to look right, last long, and remain a viable candidate for protective coatings down the road.
What paint correction actually removes
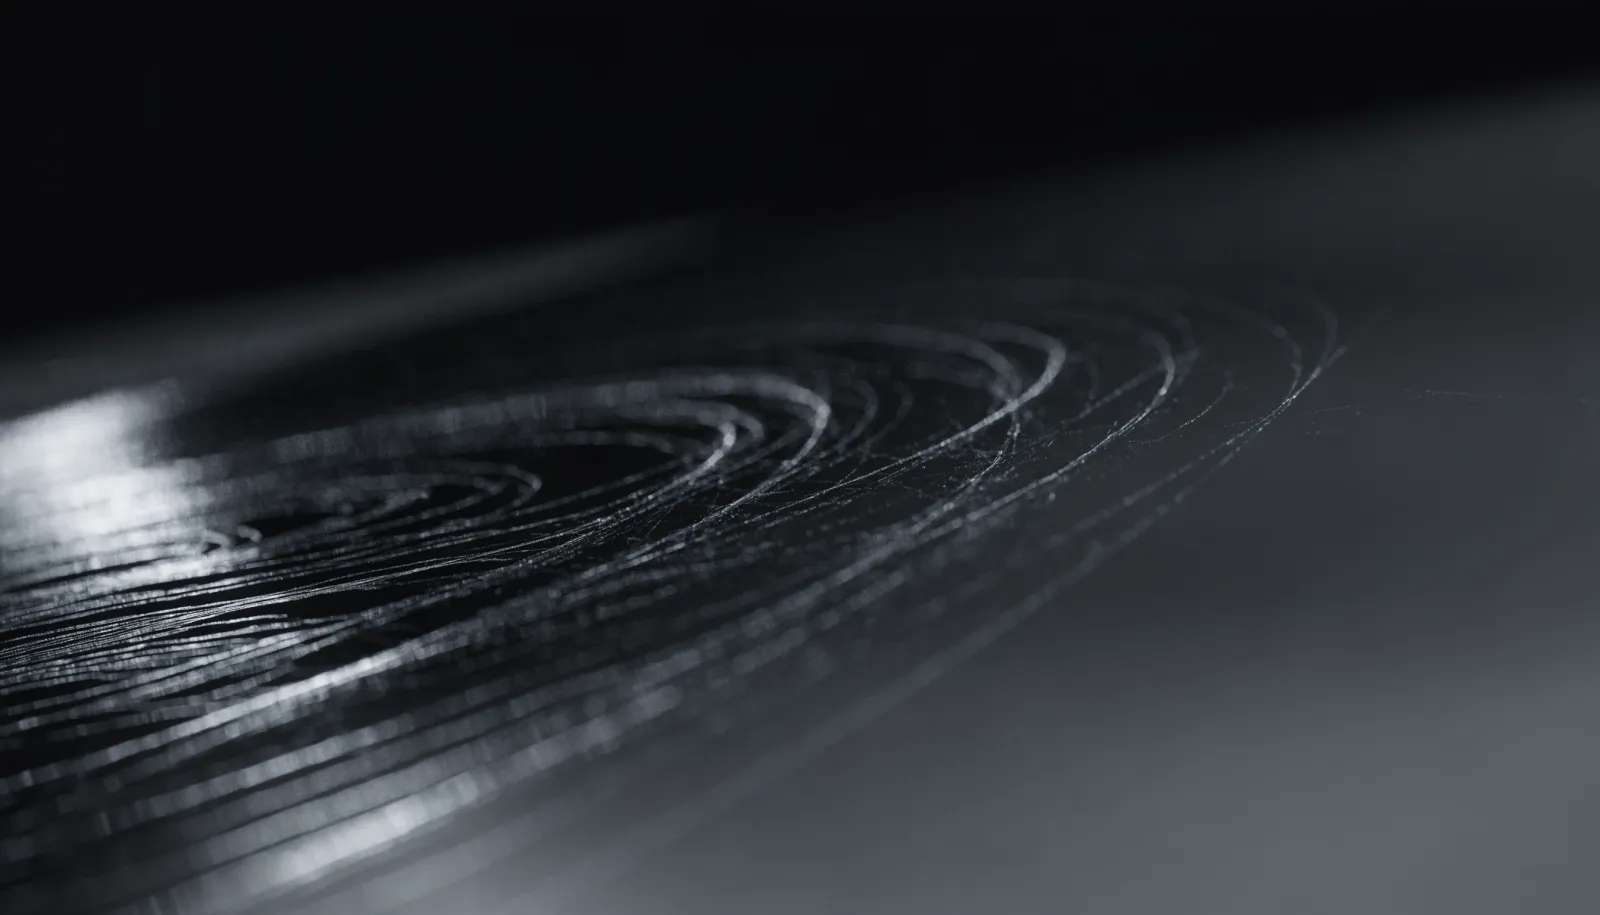
Swirl marks, buffer trails, fine scratches, and water spot etching all live in the clear coat. They are not sitting on top of it — they are disruptions in the surface itself, created by abrasion, chemical attack, or heat. Machine polishing works by abrading the peaks of clear coat down to the level of the valleys, effectively leveling the surface so light reflects uniformly instead of scattering.
The depth of a scratch determines whether it is correctable at all. A true clear coat scratch that does not reach the base coat can usually be addressed. A scratch that goes through the clear coat and into color is a different problem — polish will not put color back, and attempting to remove all evidence of a deep scratch would require removing so much clear coat that you would create a bigger problem than the one you started with.
This is why a proper inspection under focused lighting, combined with a paint thickness reading, is not optional. It is the foundation of an honest assessment of what correction can accomplish on a given vehicle.
How thickness readings guide the correction plan
A digital paint thickness gauge reads in microns and gives you a baseline for every panel. On a factory-fresh vehicle, readings are relatively consistent across flat sections, with slightly higher numbers over body lines and lower numbers near edges where robots sometimes apply thinner coats. On a vehicle with previous body work, you will see anomalies — panels with thick, uneven readings indicating filler or respray, which changes how aggressively you can work those areas.
Once you have baseline readings, the math becomes concrete. If a panel reads 60 microns of clear coat and industry guidance suggests never going below 40 microns, you have roughly 20 microns to work with. A single stage of light polishing might remove 2 to 4 microns. A heavier cut compound pass can remove more. Running through multiple correction stages on paint that is already thin is how clear coat failure happens — hazy, milky areas that cannot be buffed out because there is simply nothing left to work with.
For vehicles that come in with already-thin readings, the conversation shifts from full correction to safe improvement. We can often eliminate 70 to 80 percent of the visible defects with a conservative single-stage pass and still keep the clear coat within a healthy range. That is a better outcome than chasing perfection and compromising the paint’s long-term integrity.
Why panel edges and prior repairs require extra attention
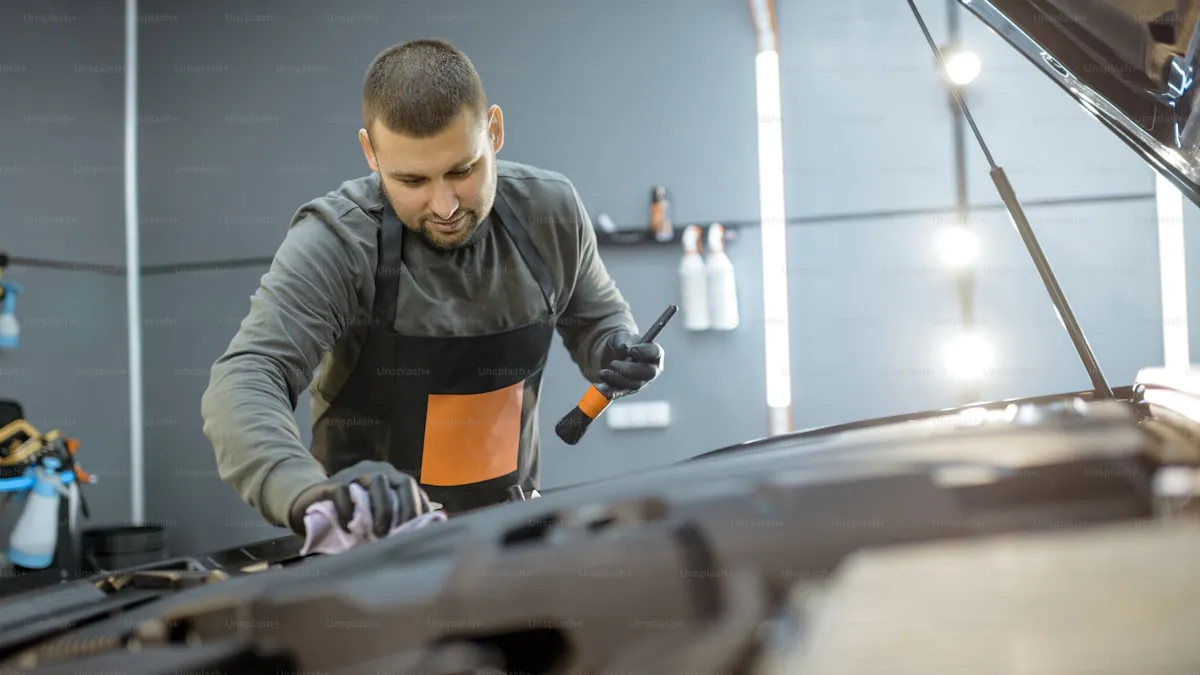
Edges are where clear coat is naturally thinnest from the factory, and they are also where heat builds during machine polishing. Running a rotary or dual-action polisher near a door edge without reducing pressure and slowing down is a reliable way to burn through clear coat. Experienced correction technicians tape edges, feather pressure, and watch carefully for any change in surface texture that signals the clear coat is getting thin.
Panels that have been resprayed create a different challenge. Body shop paint often sits on top of the original paint system, and while the total thickness reading might look adequate, the adhesion properties and hardness of aftermarket clear coat vary widely by shop and product. Some respray clear coats are significantly softer than OEM, which means they cut faster than expected. Others are harder and require more aggressive compounds to achieve the same result. Knowing that a panel has been painted before changes how you approach it.
If you are considering paint correction on a vehicle with known accident history, bringing documentation of which panels were repaired is genuinely useful. It lets a technician calibrate expectations and approach before the car is even on the lift.
The role of clear coat condition in ceramic coating prep
This is where paint correction connects directly to long-term protection. A ceramic coating bonds to clear coat, not to damage. If the clear coat is etched, contaminated with iron fallout, or has surface oxidation, the coating goes on over a compromised substrate and the result is a coated layer of damage rather than a properly sealed surface. Correction removes the compromised material and presents a clean, level surface for the coating to bond to.
But correction also consumes clear coat. This means that if a vehicle is going to receive a ceramic coating — something the owner expects to keep for five or more years — the correction phase needs to be calibrated with that long-term plan in mind. Removing every last swirl mark is not always the right call if doing so leaves the clear coat too thin to survive the coating’s expected lifespan without risking failure.
The goal in that scenario is corrected enough that the coating delivers genuine gloss and protection, while retaining enough clear coat depth that the paint system stays healthy for the life of the coating. That balance is a judgment call made in real time, based on the thickness readings, the condition of the paint, and what the owner’s goals actually are.
What this means for older and high-mileage vehicles
Older vehicles are not automatically poor candidates for paint correction, but they require an honest pre-inspection. A well-maintained 10-year-old car that has been hand-washed consistently may have more correctable clear coat remaining than a 3-year-old car that has been through automated washes twice a week. Maintenance history matters as much as age.
Heavily oxidized paint — where the clear coat has degraded from UV exposure and taken on a chalky or milky appearance — presents its own set of limits. Correction can restore gloss to oxidized paint if the clear coat is still present but degraded at the surface. If the oxidation has progressed to the point where the clear coat has failed across significant panel areas, correction cannot reverse that. Those sections may need respray before any coating makes sense.
For owners in the North Houston area dealing with years of Texas sun exposure, oxidation on horizontal panels — hood, roof, trunk — is common. Those panels tend to have taken the most UV punishment and are often where the clear coat is thinnest relative to vertical panels.
Getting an accurate assessment before committing to service
The only way to know what correction can realistically accomplish on your specific vehicle is a hands-on inspection with proper lighting and a paint thickness gauge. What looks like minor swirling under a parking lot fluorescent can reveal itself as moderately deep scratching under a focused halogen or LED correction light. What feels like thick, healthy paint can read surprisingly thin on certain panels.
If you are in the North Houston area and want a straight answer about what your paint’s condition and thickness can support, call EuroLuxe Detailing at (936) 292-6056 to schedule an inspection before committing to any service.
Paint correction is a precise trade-off between the defects you remove and the clear coat you consume. Understanding that trade-off — and having a technician who measures before they cut — is what separates a correction that improves a vehicle for years from one that creates problems the owner did not bring in with.