Paint correction on a used car: what to expect and why it matters
When someone buys a used vehicle, the purchase conversation is almost entirely about mechanical condition. Carfax reports, compression tests, transmission behavior, brake wear. Paint rarely gets a serious look beyond a quick walk-around in a dealership lot under fluorescent lights. That habit is understandable, but it leaves most used-car buyers with a paint surface that ranges from mildly compromised to genuinely neglected. The swirl marks, water etching, and oxidation that accumulate over years of automatic car washes, improper hand washing, and unprotected parking do not disappear on their own.
Paint correction on a used vehicle is not just cosmetic cleanup. For anyone planning to apply a ceramic coating afterward, it is a prerequisite. A coating locks in the condition of the paint beneath it. If that surface carries haze, buffer trails, or embedded contaminants, those defects become permanent features. Understanding what the correction process actually involves, what it can and cannot fix, and how paint history affects the approach helps owners make informed decisions rather than expensive ones.
The used car market in the greater Houston area brings its own particular set of challenges. Sun exposure, humidity, and the prevalence of automatic tunnel washes across Tomball, Spring, The Woodlands, and Cypress mean most pre-owned vehicles show more paint degradation than their model-year would suggest. What looks clean in a photo often looks very different under a paint inspection light.
What a paint inspector actually looks for on a used vehicle
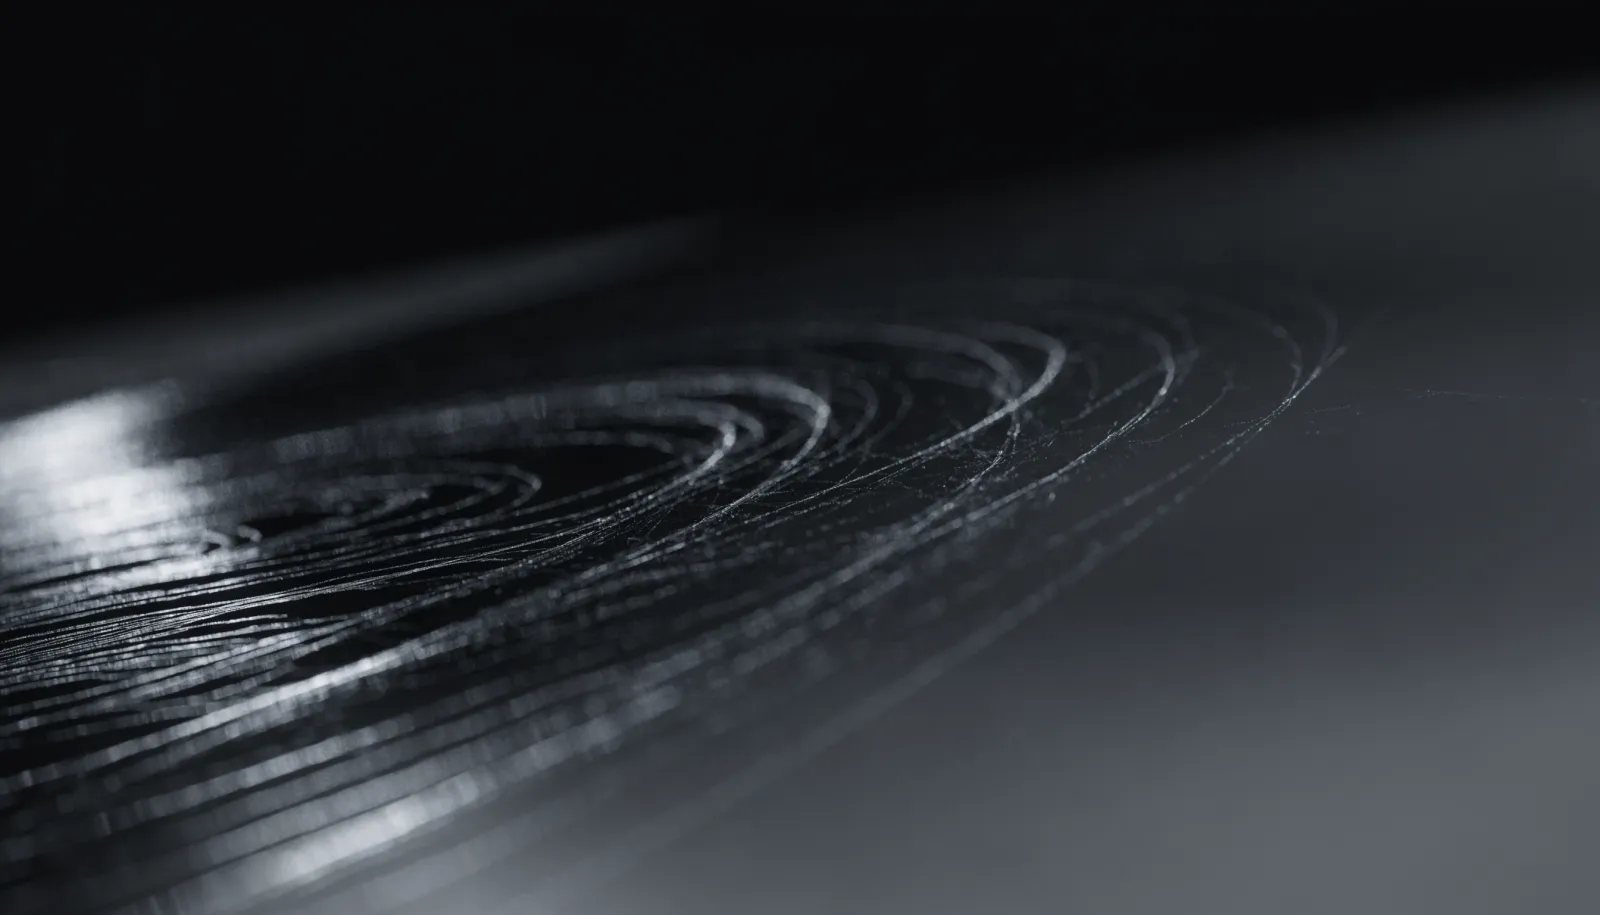
The first step before any correction work is a systematic inspection of every panel under proper lighting. A high-intensity LED light held at varying angles reveals defects that are invisible under ambient or overhead fluorescent light. Swirl marks appear as circular haze in the clear coat. Buffer trails from previous detailing show as linear scratches left by a machine moving too fast or with the wrong pad. Water spot etching shows as mineral deposits that have chemically bonded with or physically etched into the clear coat surface.
Beyond surface defects, the inspector evaluates paint thickness. A paint thickness gauge reads the depth of the clear coat and base coat at multiple points across each panel. On factory paint, these readings are fairly consistent. Panels that have been repainted after a collision often read significantly thicker from body filler and additional paint layers, or inconsistently thinner if someone sanded through during prior work. This matters for correction because polishing removes a small amount of clear coat, and a panel with borderline thickness needs a more conservative approach.
Contamination is also assessed. Even a clean-looking surface often harbors embedded iron particles from brake dust and rail dust, industrial fallout, and tar deposits. Contaminants sit above the paint surface but prevent a polishing pad from making even contact with the clear coat. Decontamination with an iron remover and a clay bar or clay pad is done before polishing begins, not after.
The difference between a one-step polish and a multi-stage correction
Not every used vehicle needs the same level of work. The correction process is staged based on what the inspection reveals and how much clear coat is available to work with.
A single-stage correction uses a compound or finishing polish and a dual-action machine polisher to address light to moderate swirl marks and surface haze. It removes a minimal amount of clear coat and can bring significant improvement in gloss and clarity on paint that has not been polished into. This is appropriate for vehicles with relatively few defects and good remaining paint depth.
A two-stage correction starts with a heavier-cut compound on a cutting pad to address deeper scratches, water spot etching, and oxidation, then follows with a finishing polish and a softer pad to remove any marks left by the compound and maximize gloss. This approach removes more clear coat and requires careful monitoring of paint thickness throughout the process. It is the more common approach on a vehicle with a few years of mileage and typical wash-induced marring.
A three-stage process, sometimes called a full correction, may add wet sanding for severe texture issues like orange peel, deep etching, or surface leveling from prior poor bodywork. This is less common on used daily drivers and more applicable to vehicles being prepared for concours presentation or show work, but it exists for situations that require it.
The goal across all stages is to remove as little clear coat as necessary to achieve the target result. A correction shop that routinely over-polishes or skips paint thickness measurements is trading long-term clear coat life for short-term visual impact.
Why correction before a ceramic coating is not optional
Some owners ask whether a ceramic coating will cover up existing swirl marks or light scratches. The straightforward answer is no. A ceramic coating is a transparent hard layer that bonds to the surface beneath it. Whatever clarity or defect exists in the clear coat when the coating is applied is what will show through for the life of the coating, which on a quality professional coating can be several years.
Applying a ceramic coating over uncorrected paint also makes future correction more difficult. Removing the coating to address underlying defects requires additional chemical and mechanical steps before the paint itself can be addressed. It is a more involved process than simply correcting the paint first.
For used vehicles, the correction-then-coat sequence also serves another purpose. The decontamination and polishing process removes contaminants and micro-surface irregularities that would otherwise interfere with coating adhesion and leveling. A coating applied to properly corrected paint bonds more uniformly and performs more consistently than one applied over compromised paint.
How paint history on a used car shapes the correction approach
A vehicle that has spent three years in daily service and been run through tunnel washes twice a month presents a predictable set of defects. A vehicle that was previously corrected and coated by a prior owner, then had the coating maintained properly, may need relatively minimal work. A vehicle that was repainted after a collision and then left unprotected requires careful attention to those repainted panels, which may have different clear coat characteristics than the factory panels.
One situation worth specific mention is partial prior correction. Some vehicles arrive having been detailed with a consumer-grade one-step wax or polish that temporarily masks swirl marks with fillers rather than removing them. These fillers wash out over a few weeks. The underlying defects are still present. A proper inspection will identify this, but it is worth asking a prior owner about the vehicle’s detail history if that information is available.
Previous poor machine polishing is also something inspectors look for. Buffer trails, holograms, and micro-marring from an improperly used rotary polisher or a dual-action run with the wrong pad and product combination require correction work in their own right. Inherited poor work is one of the more common findings on used enthusiast vehicles.
What owners should realistically expect from the process
Paint correction on a used vehicle is not a restoration of the original paint in every case. It is an improvement within the limits of what the existing clear coat allows. If a vehicle’s paint has been polished repeatedly over the years and the clear coat is genuinely thin, aggressive correction is not appropriate. The honest approach in that situation is to do what is safe given the remaining paint thickness and let the owner know where the limits are.
On a typical used vehicle with three to seven years of service and no collision history, a two-stage correction will address the majority of visible swirl marks and surface defects and produce a meaningfully better finish. Gloss depth improves, reflections sharpen, and the surface is genuinely ready for a long-term paint protection film or ceramic coating installation.
The timeline for correction varies by vehicle size, panel count, and defect severity. A mid-size sedan with moderate marring typically takes a full day of careful work. Trucks, SUVs, and vehicles with severe oxidation or prior poor bodywork take longer. Rushing the process or skipping steps is where paint damage occurs and where the difference between a competent shop and a fast one becomes apparent.
If you own a used vehicle and want an honest assessment of what its paint needs before any coating or protection work, call EuroLuxe at (936) 292-6056 to schedule an inspection. The evaluation takes time and attention, but it is the only way to know what is actually there and what the correction process can deliver.
Owning a used car does not mean inheriting a paint surface you have to live with permanently. Understanding the inspection and correction process, knowing what staged polishing actually does, and recognizing why surface preparation matters before any long-term protection is applied puts you in a position to make a sound decision about the work, the investment, and what results are realistically achievable.