Water Spots on Car Paint: Types, Causes, and How to Remove Each One Safely
Water spots are one of the most misunderstood paint problems in automotive care. Most people treat them the same way — grab a spray detailer and wipe — which works on some spots and makes others significantly worse. The reason is that not all water spots are the same thing.
There are three distinct types, each with a different cause, a different depth of damage, and a different removal method. Knowing which type you’re dealing with before you touch the paint is the difference between a five-minute fix and a situation that requires a polisher.
Type 1: Surface Mineral Deposits
What it is: The most common and least serious type. Hard water — tap water, sprinkler water, or mineral-rich rain runoff — evaporates and leaves behind a deposit of calcium, magnesium, and other dissolved minerals on the paint surface. The minerals themselves are not bonded to the clear coat, just sitting on top of it.
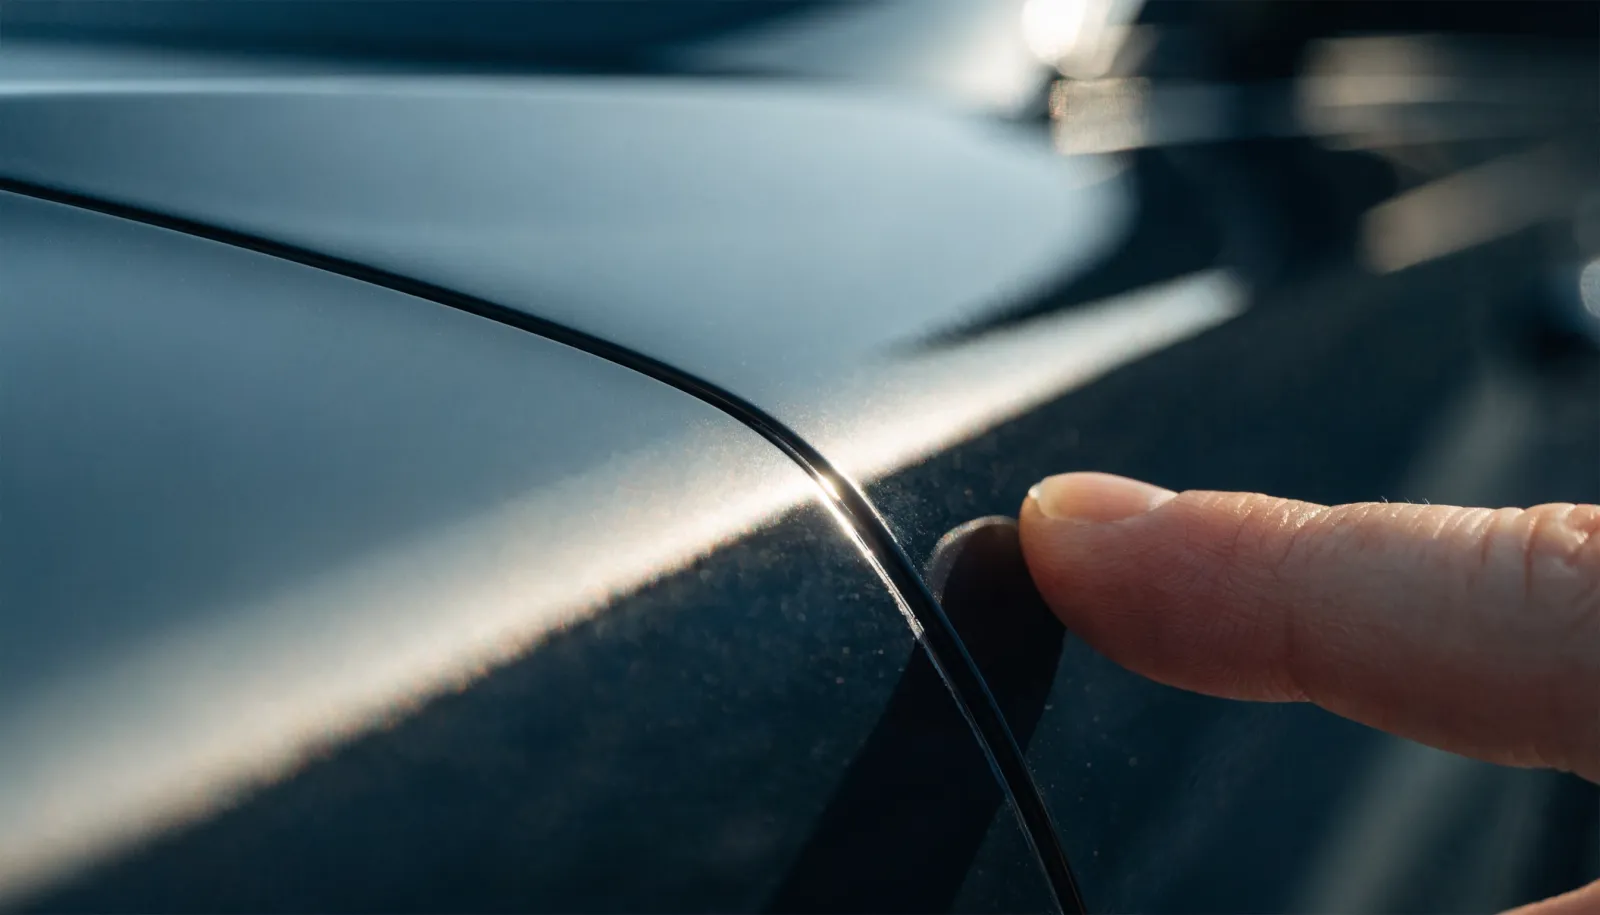
What it looks like: White or chalky circular spots, often with a slight iridescent ring. They look hazy under direct light. On dark paint they’re immediately visible; on white or silver they’re easier to miss until sunlight hits at an angle.
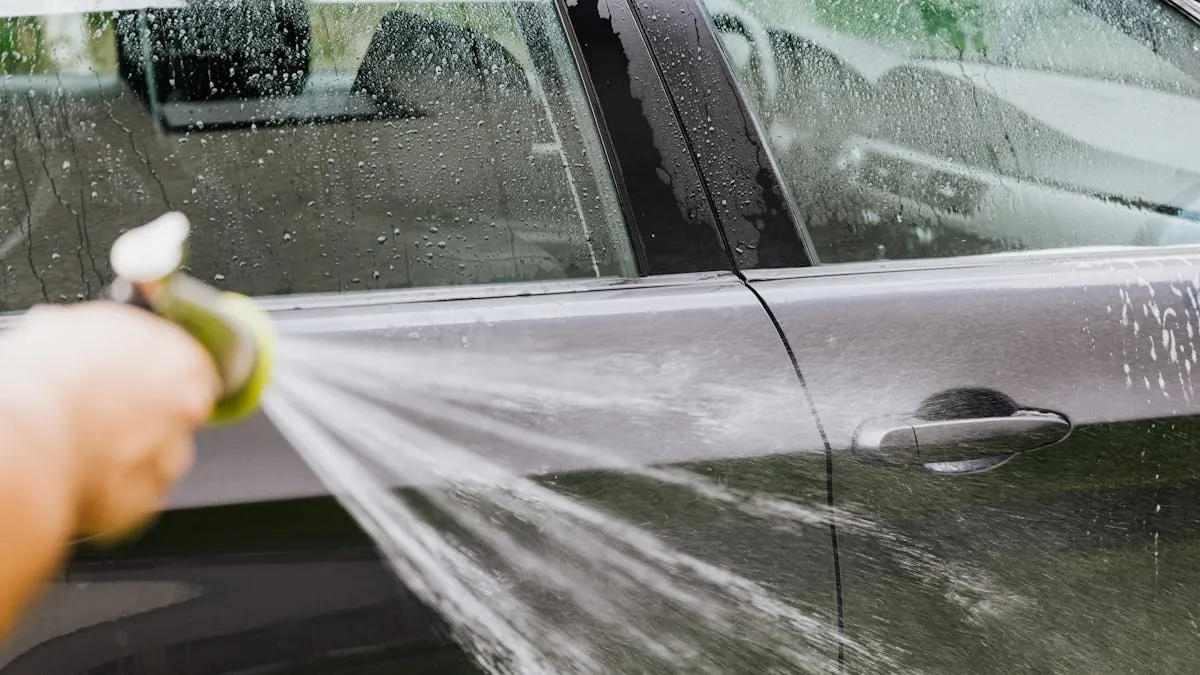
Common causes: Parking near automatic sprinkler systems (especially ones that use well water), car washes that use tap water without a proper drying cycle, washing the car in direct sun so water evaporates faster than you can dry it, or rain on a dirty car where minerals in the rainwater concentrate as they evaporate.
How to remove Type 1 spots: A dedicated water spot remover — which is typically a mild acidic solution (often pH 4–5) — dissolves the mineral deposits without affecting the clear coat. Apply to a clean microfiber cloth, gently agitate the spot, and wipe away. On a ceramic-coated surface, this process is even more straightforward because the minerals are sitting on the coating, not in direct contact with the clear coat. A properly maintained coating means Type 1 spots often wipe off with a pH-neutral spray and a clean towel.
Do not use household vinegar as a substitute. While it’s acidic, it’s inconsistent in concentration and can leave its own residue. Use a purpose-formulated water spot remover.
Type 2: Etched Water Spots
What it is: This is where water spots cross from annoyance into actual paint damage. When water with dissolved minerals sits on clear coat under heat — Houston summers are particularly brutal for this — the water evaporates and the minerals concentrate. As the mineral deposit dries and heats, it can etch a physical impression into the clear coat surface.
You can think of it as a very slow chemical engraving. The clear coat doesn’t dissolve; instead, the hard mineral deposit leaves an impression of its shape into the softer clear coat surface, especially when combined with heat and UV exposure.
What it looks like: Similar rings to Type 1, but they don’t wipe off. Running a chemical spot remover over them may reduce the haze but the ring outline remains visible because it’s a physical texture in the surface, not just a deposit on top of it.
Common causes: Water sitting on paint in direct Texas sun. Sprinkler water on a hood left to bake for several hours. Repeated exposure to hard water on unprotected paint without proper decontamination.
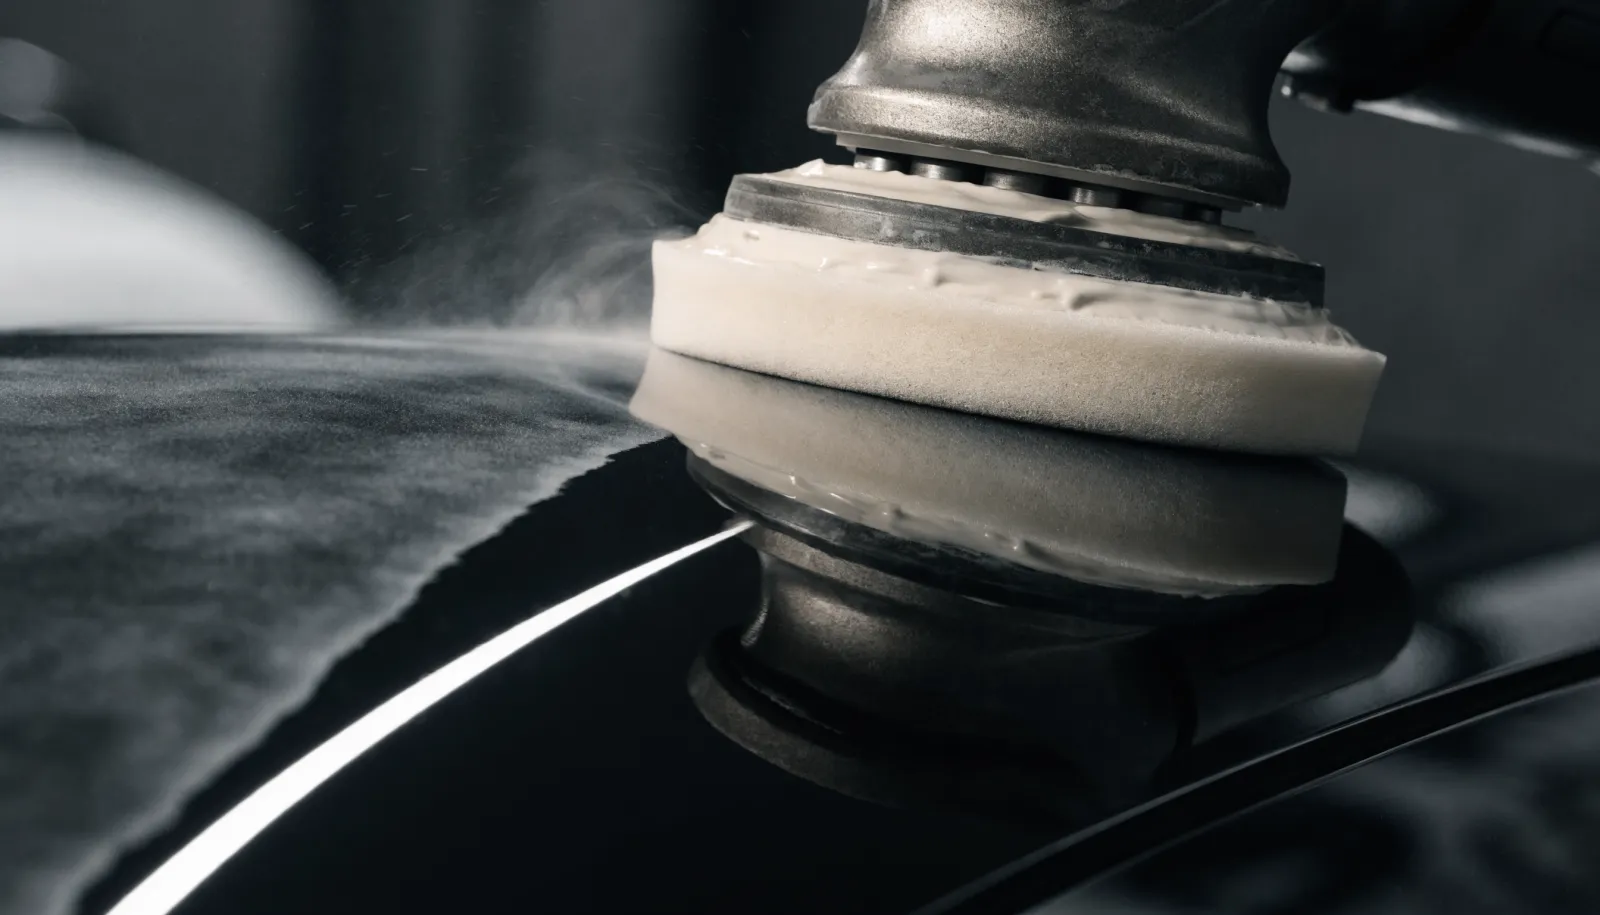
How to remove Type 2 spots: You need abrasive correction — a machine polisher with a light cutting compound. The goal is to level the clear coat surface around the etch, removing the slight deformation left by the mineral deposit. A professional detail shop can identify the severity and match the appropriate correction level. Light Type 2 etching often responds to a single-step polish; deeper etching may require a cut-and-refine process.
This is where paint correction becomes relevant. Not every Type 2 spot needs a full multi-stage correction, but it does need a polisher. A spray detailer and elbow grease will accomplish nothing.
Type 3: Bonded Contamination Spots
What it is: The most severe category. These are water spots where the mineral deposit or other contaminant has fully bonded into the clear coat surface — not just etched it but chemically integrated with it. This often happens after prolonged exposure, particularly in industrial areas where the water carries acidic pollutants, or from acid rain.
They can also result from other water-based deposits: tree sap, bird droppings that were rinsed but not fully removed, industrial fallout dissolved in rainwater.
What it looks like: Stubborn spots that resist chemical removers and show minimal response to light polishing. In some cases you can see a slight cratering or discoloration of the clear coat at the spot location.
How to remove Type 3 spots: This requires a more aggressive correction approach — often a medium-cut compound with a machine polisher, followed by a refining polish to restore gloss. In severe cases, the clear coat may be compromised enough that a respray becomes the only option for a proper repair.
The key distinction from Type 2 is that Type 3 spots typically require more cutting, more passes, and more careful assessment to avoid cutting through clear coat entirely. This is not a DIY project for most car owners.
Preventing Water Spots Before They Start
The single most effective prevention strategy is ceramic coating. A ceramic coating creates a hydrophobic surface that causes water to bead and sheet off paint rather than sitting and evaporating. This dramatically reduces the exposure time for any mineral-containing water on the paint surface.
Secondary prevention comes from wash habits:
- Never wash in direct sun if you can help it
- Dry immediately and thoroughly after washing
- Use a filtered water source for the final rinse if possible (spot-free rinse systems are worth it for regular washers)
- Address bird droppings and tree sap within hours, not days — they get dramatically worse with heat exposure
If you have water spots you’re not sure how to classify, bring the vehicle in or send us photos at 346-920-4372. A quick visual assessment tells us which type you’re dealing with and whether you need a chemical treatment, a polish, or a more involved correction process. Treating Type 2 or Type 3 spots with the wrong approach delays the fix and sometimes creates additional damage — better to know what you’re working with before starting.
Keep Your Vehicle Looking Its Best
What Is Paint Correction?
Single-Stage vs. Multi-Stage Paint Correction: What’s the Difference?
How to Dry Your Car Without Scratching It